Introduction
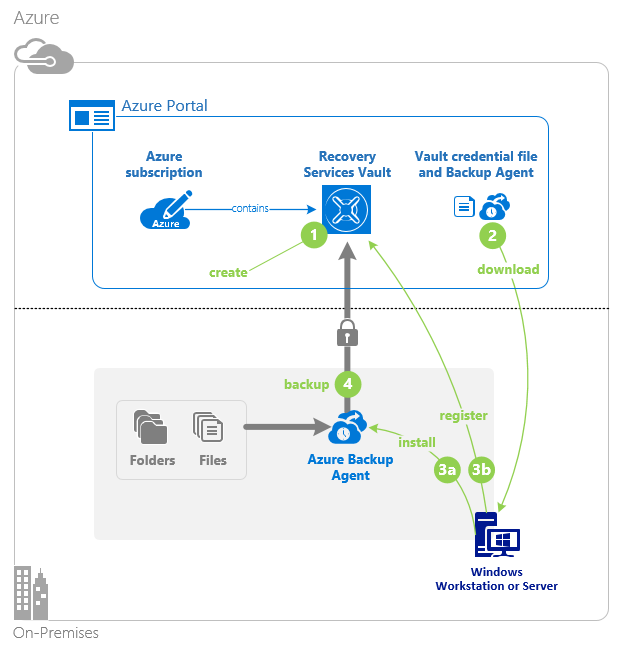
Microsoft Azure Recovery Services Agent (MARS) is a tool to backup folders/files from a Windows Client or Server to an Azure Recovery Services Vault. Backups can be scheduled Daily/Weekly/Monthly and up to 3 times a day. This solution provides an offsite backup copy of your data that would be protected in case of a ransomware attack. If you would be a victim of an attack choose to restore your data prior to the attack date.
The following sections will provide an overview of the installation of MARS, how to backup your files, and then how to restore your files when needed.
The link below covers IP/DNS addresses that need to be accessible from your network.
Install the Microsoft Azure Recovery Services (MARS) agent – Azure Backup | Microsoft Docs
Installation
Log into the Azure Portal at https://portal.azure.com and search for Recovery Vaults.
Click the +Create button on the recovery services vault
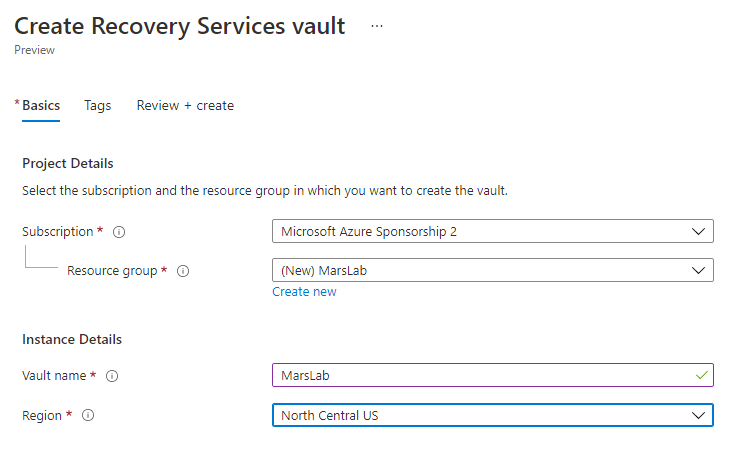
Create a Recovery Services Vault if one doesn’t exist for your use.
Determine the resource group to use for the vault, or choose a new Resource group if these backups need to be grouped differently. This can be helpful when determining the costs for the backups.
Click into the new recovery services vault that was just created and choose Backup under the Getting Started group.
In the drop down for “Where is your workload running”, choose “On-Premises”.
To have Azure suggest the MARS agent vs other products like MABS, choose the checkbox for Azure Files and folders as seen below.
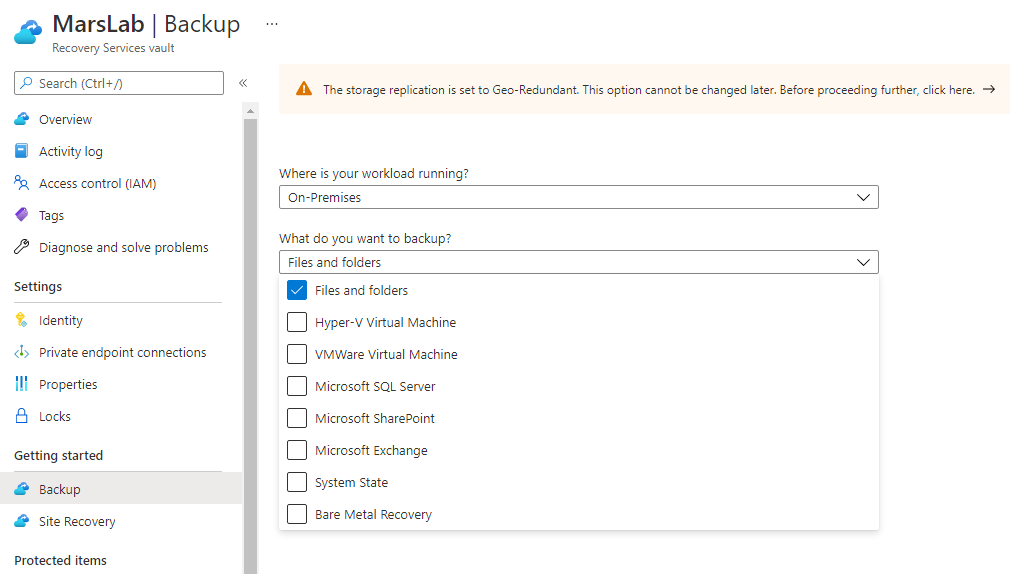
Click Prepare Infrastructure button.

Download the Recovery Services agent by clicking on the link “Download Agent for Windows Server or Windows Client”.
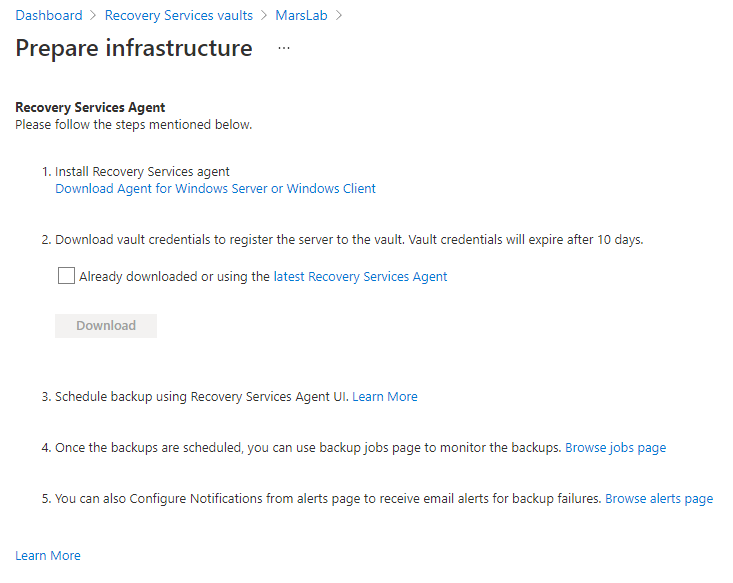
This is the direct link to the installer if needed:
https://go.microsoft.com/fwLink/?LinkID=288905&clcid=0x0409
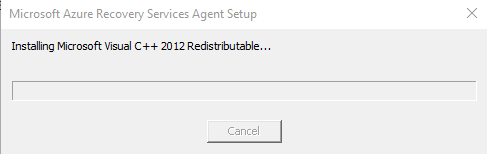
Install the MarsAgentInstaller.
![]()
The installer has a pre-requisite of installating the C++ 2021 Runtime.
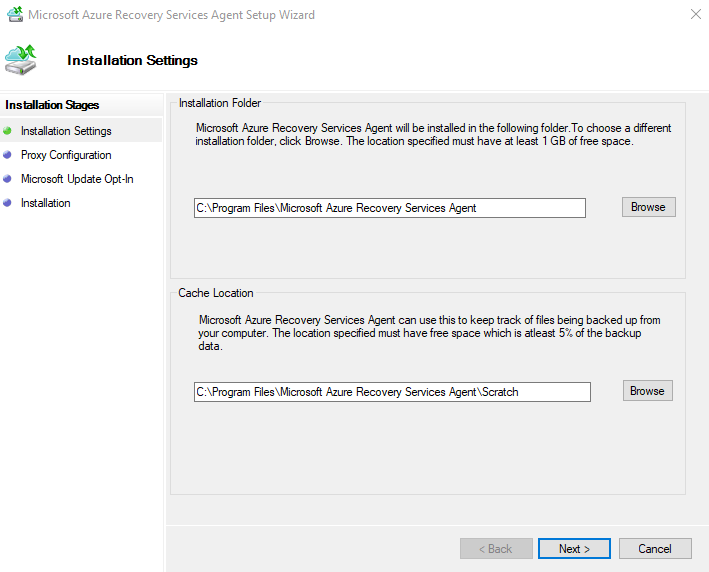
The next screen gives the option to change the directories for the agent and cache.
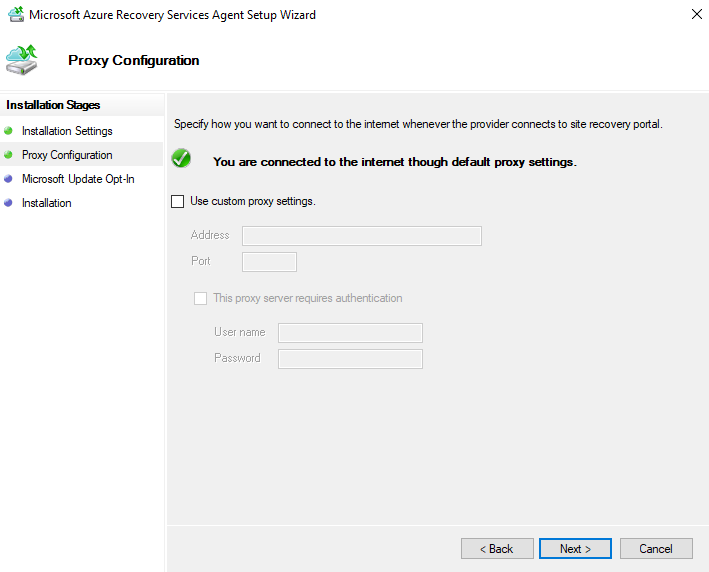
If you are using a proxy this screen allows you to set a custom proxy.
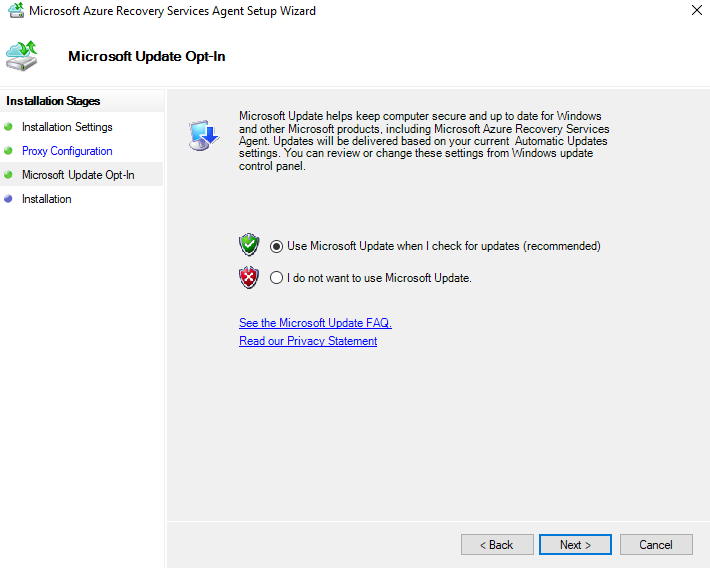
It is recommended to use Microsoft Updates to keep the agent up to date.
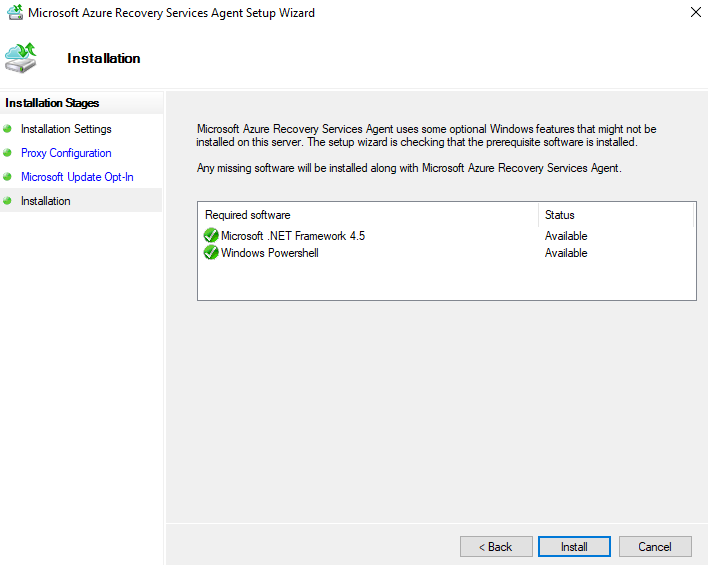
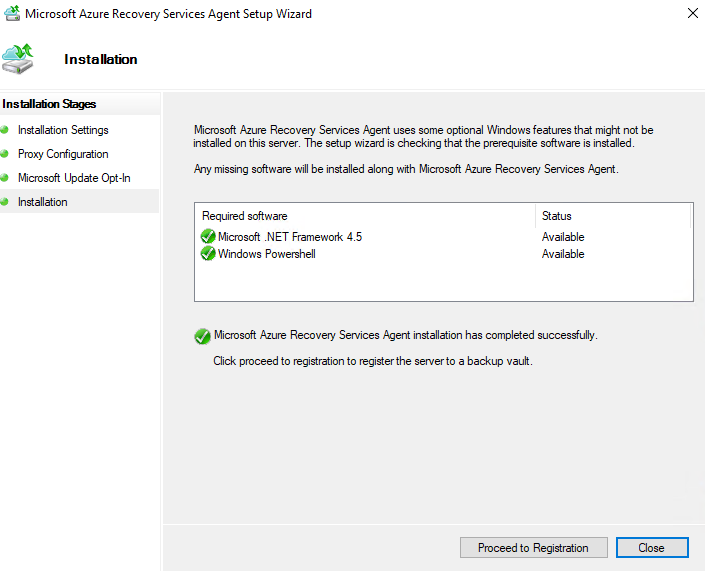
Click install to install the agent. Once it is completed click Proceed to Registration.
Return to the Azure Portal and click the checkbox “Already downloaded or using the latest Recovery Services Agent”
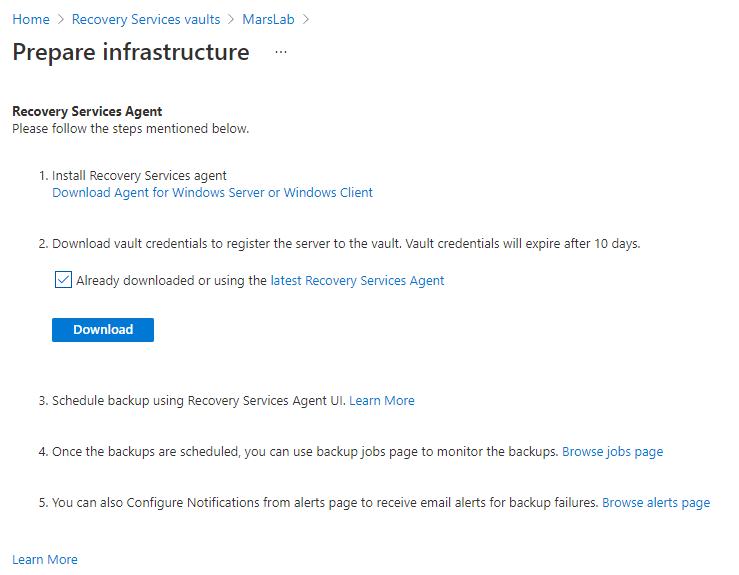
Click the Download button to download a file containing the vault credentials.
Copy this file to the virtual machine or a location that the machine has access to.
Return to the Azure Virtual machine to click the browse button to locate the vault credentials file.
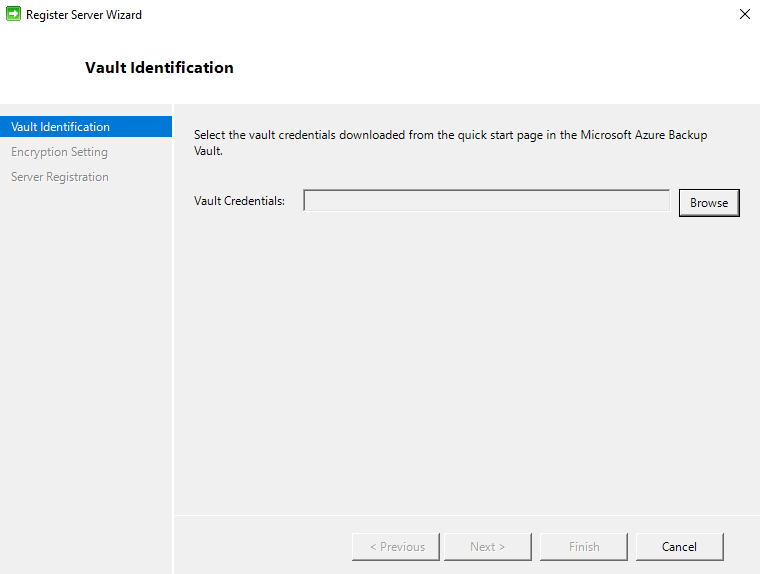
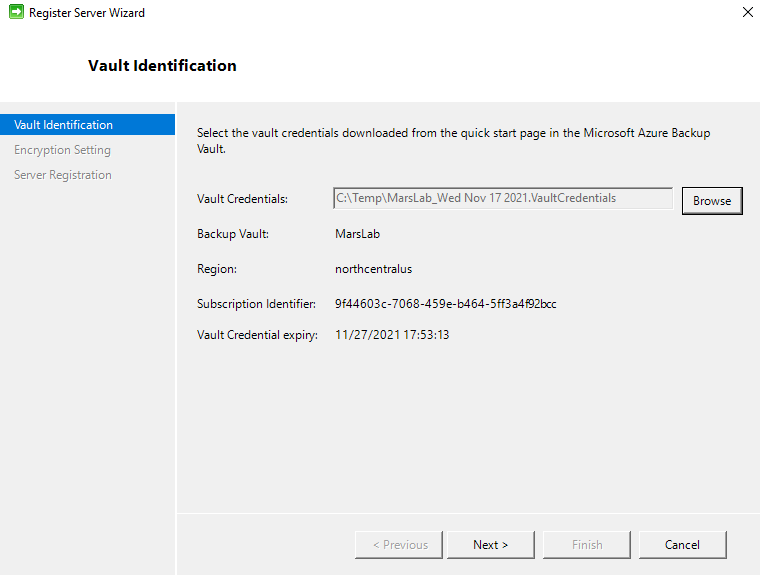
Click Next to create a passphrase to encrypt/decrypt the backups.
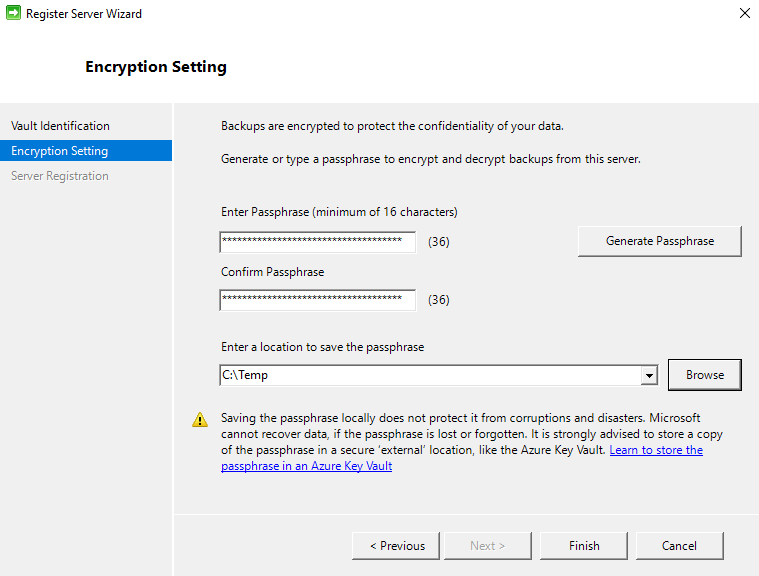
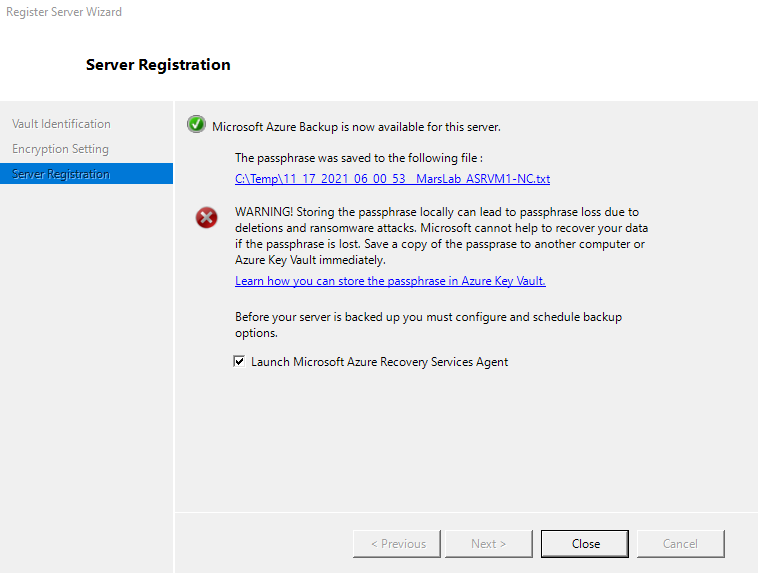
Click Finish.
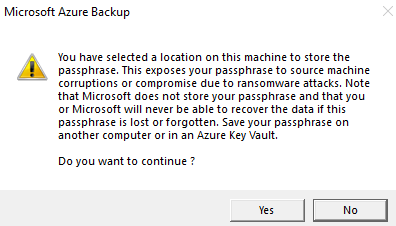
It is good practice to copy this passphrase file to another location off of the VM. Click yes to continue and copy the file to a safe location later.
Click next to associate the VM to the Recovery Services Vault. 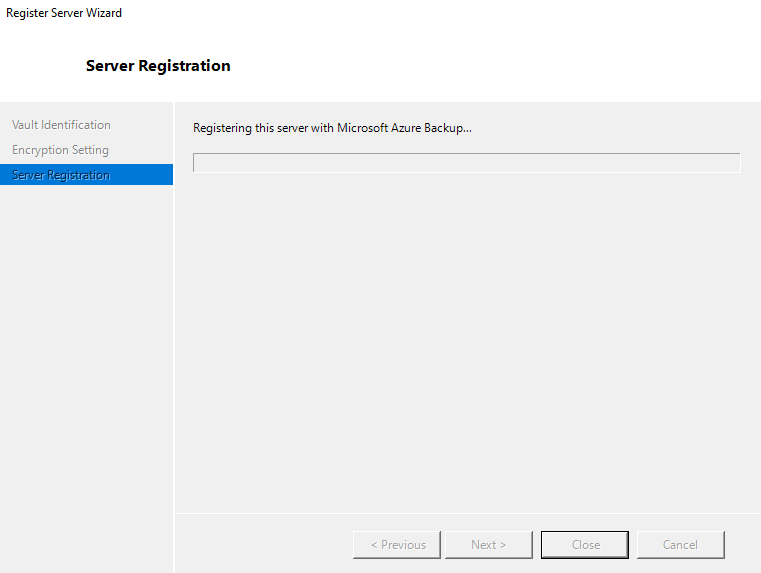
Click on the Microsoft Azure Backup icon.

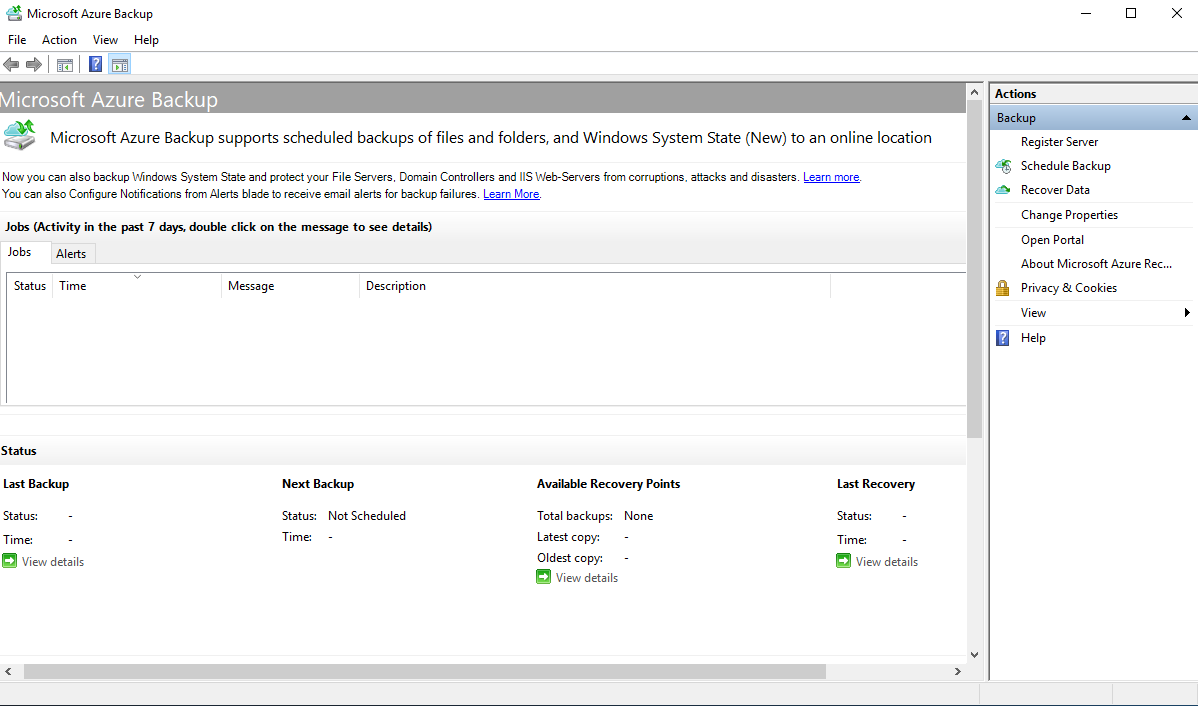
Click Schedule Backup

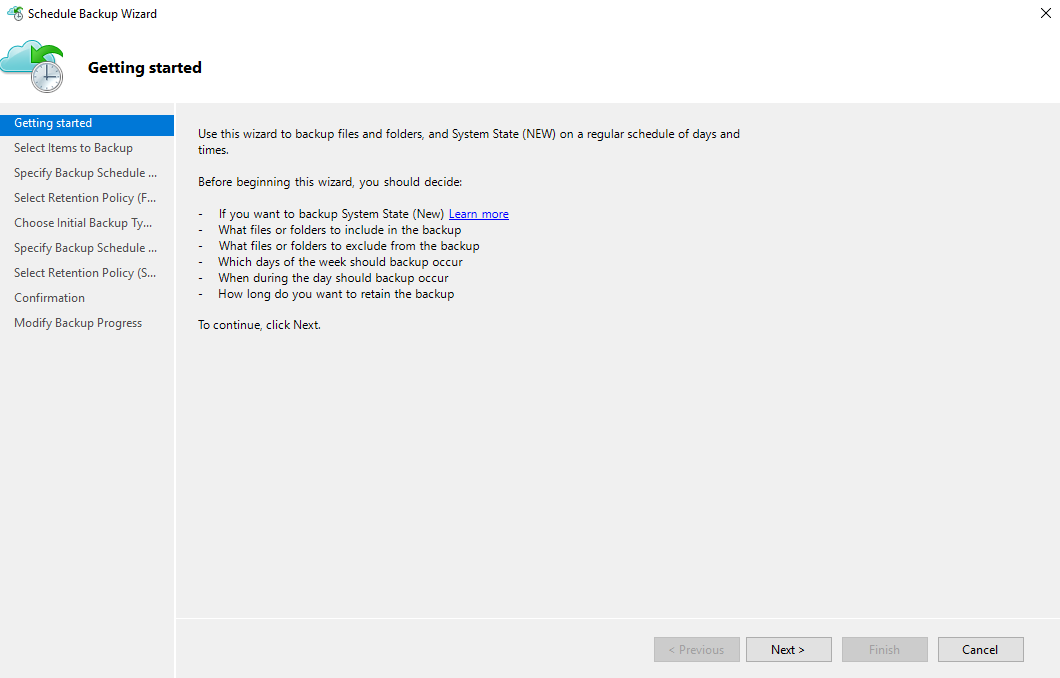
Click Next
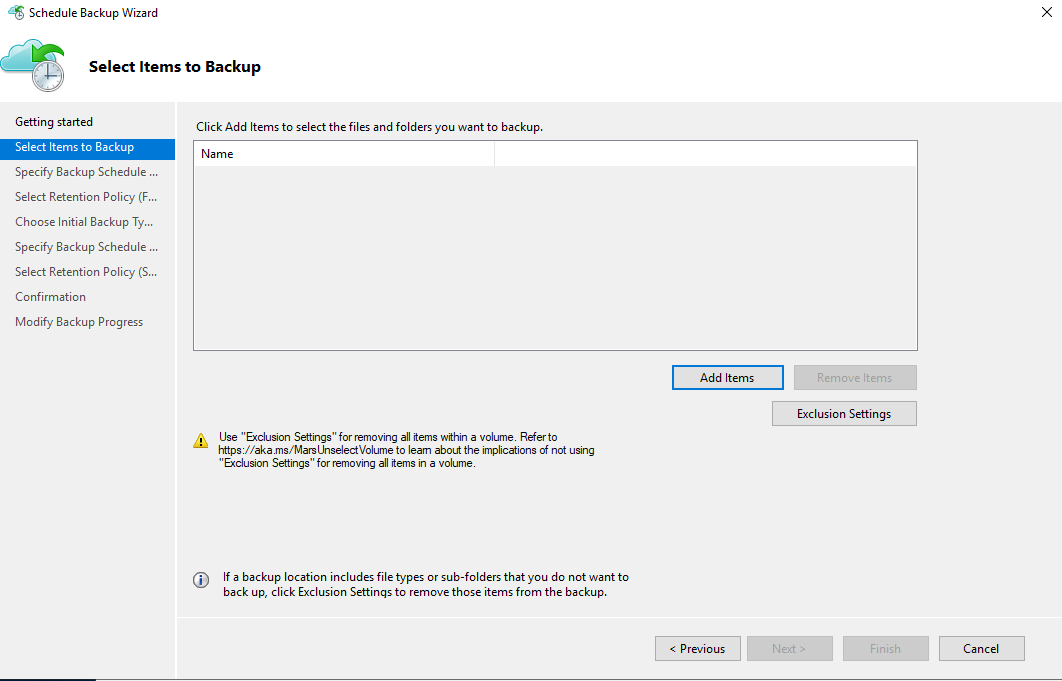
Click the Add Items button to choose the files and folders to backup.
Click Next and then choose the schedule for the backups. As shown below at the current time the agent has a maximum of 3 times a day that backups can occur.
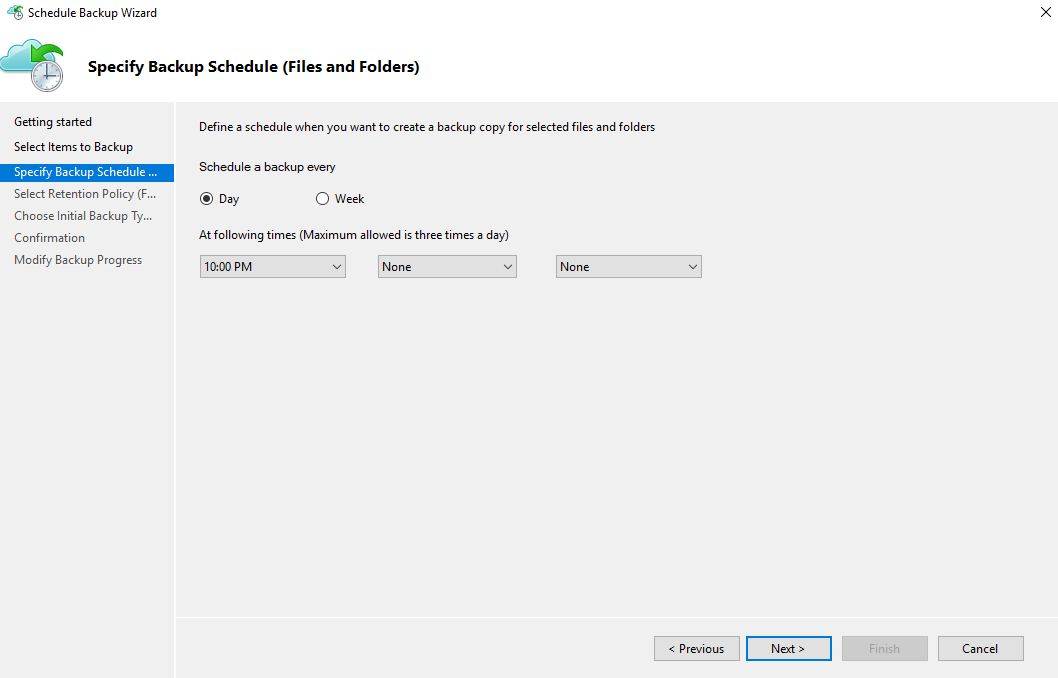
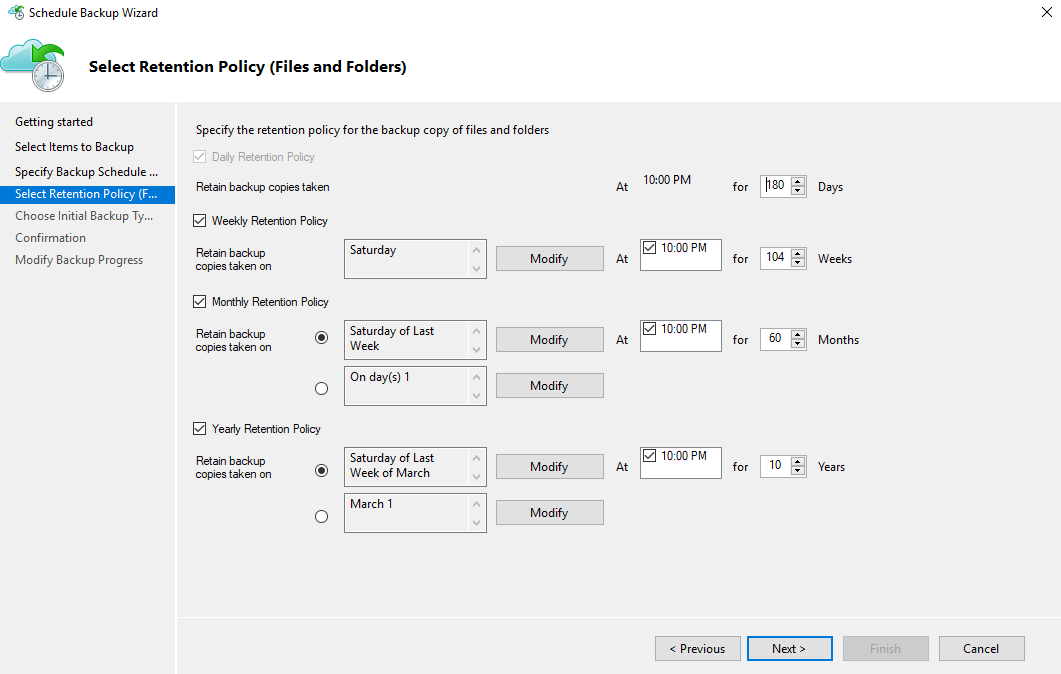
After choosing the times, click Next to see the weekly, monthly and yearly schedule options.
Click next to determine how you will complete the initial backup.
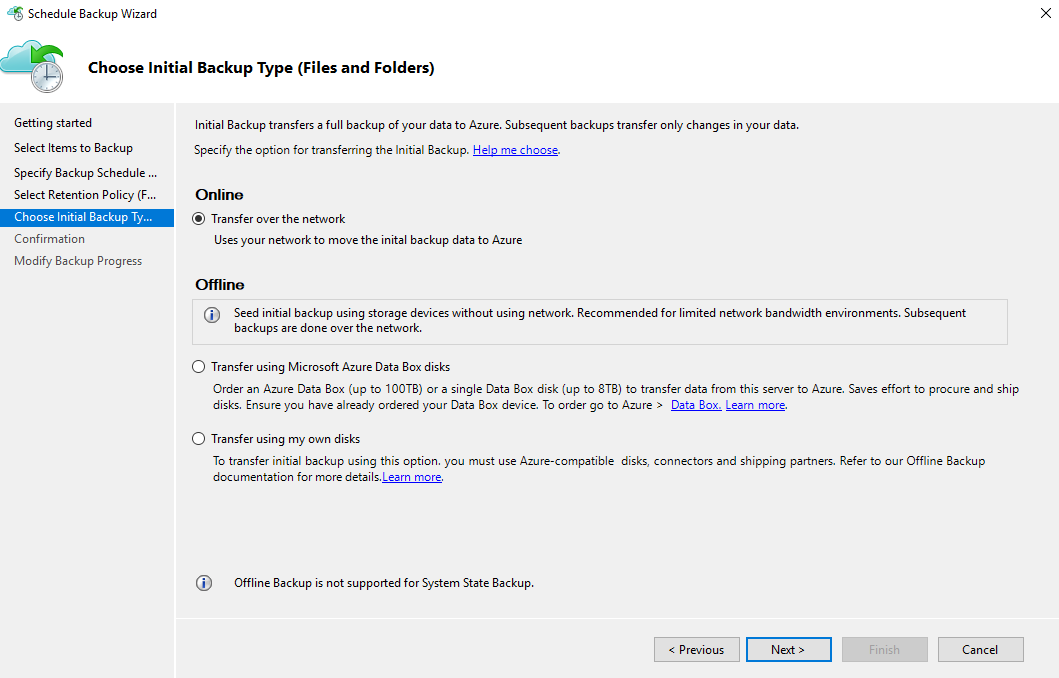
If you have terabytes worth of data to transfer, consider using Azure Data Box for the initial seeding of the data transfer.
Seed offline backup with the Azure Import/Export service – Azure Backup | Microsoft Docs
Click Next and then Finish.
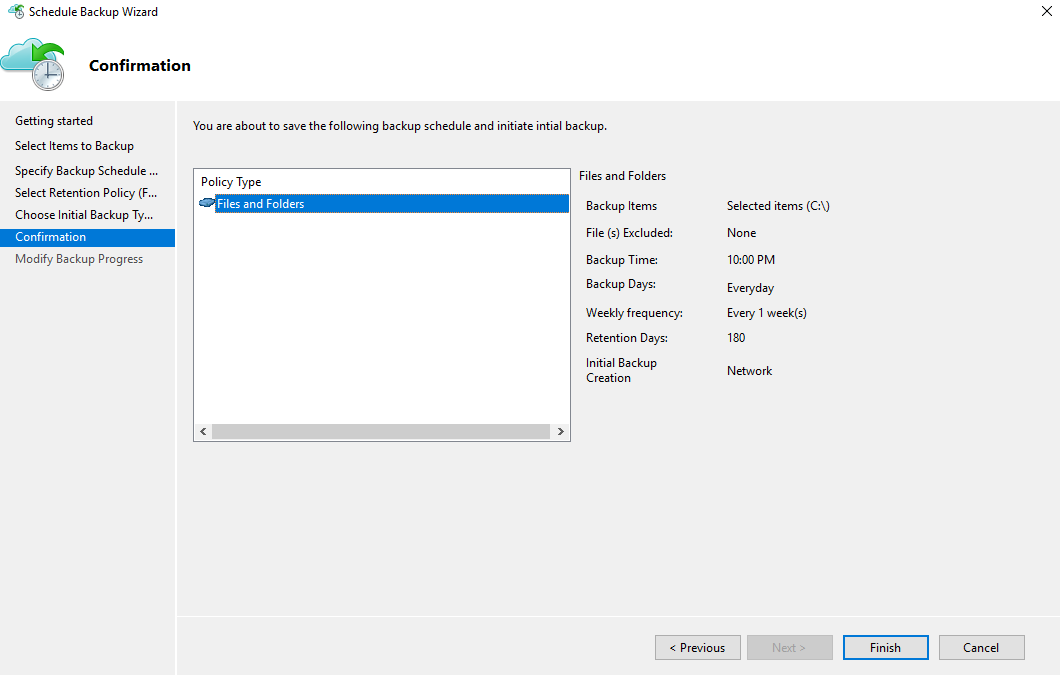
The schedule is created.
If you are curious and wanted to see where the schedule exists. It is utilizing Windows Task Scheduler under Microsoft/OnlineBackup.
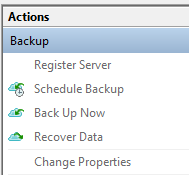
Backup Now
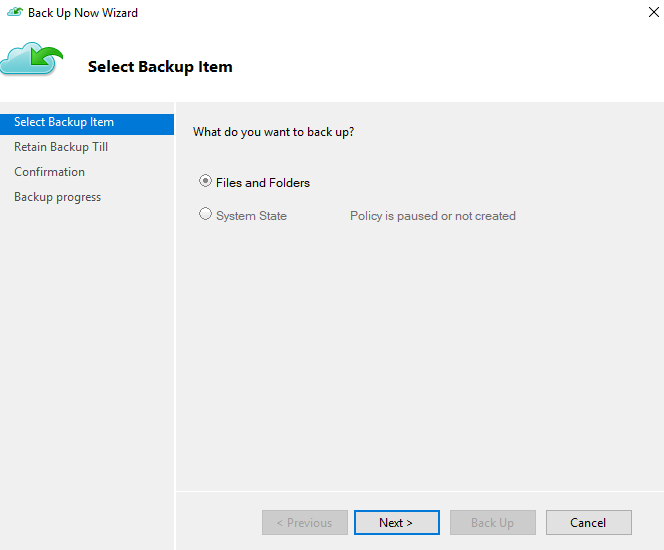
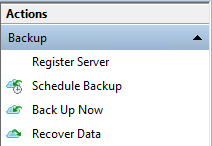
Click the Back Up Now button (under Actions) to start a backup wizard.
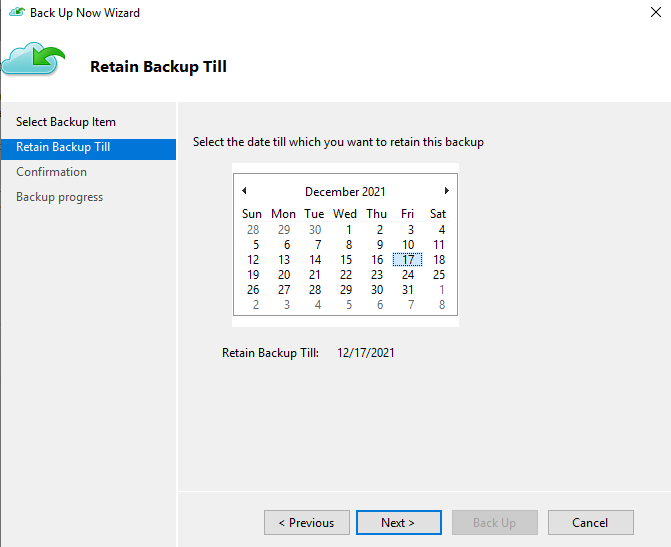
Choose a date to determine how long you wish to retain the data. The calendar defaults to a month out.
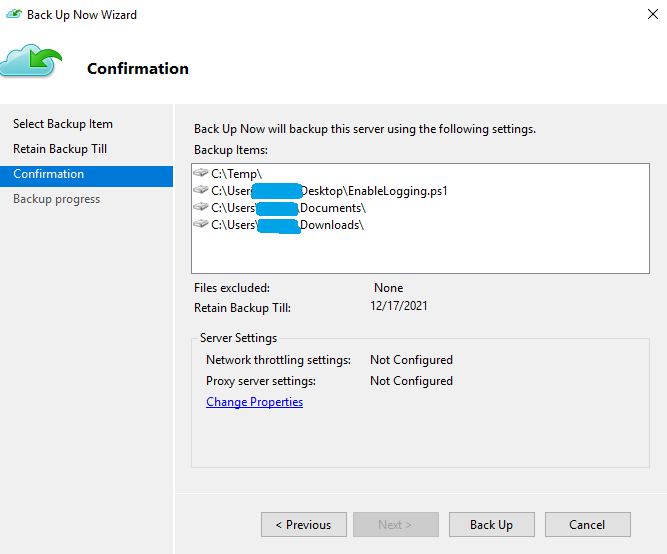
Click the Back Up button to start the backup process.
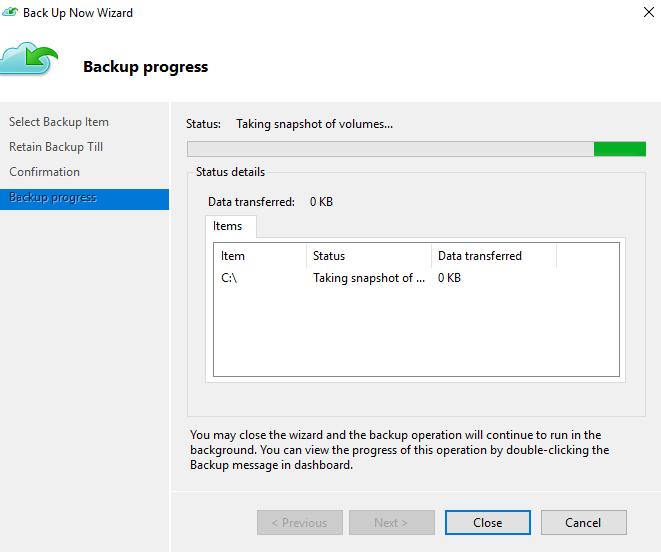
After the job completes it will display the amount of data that was transferred.
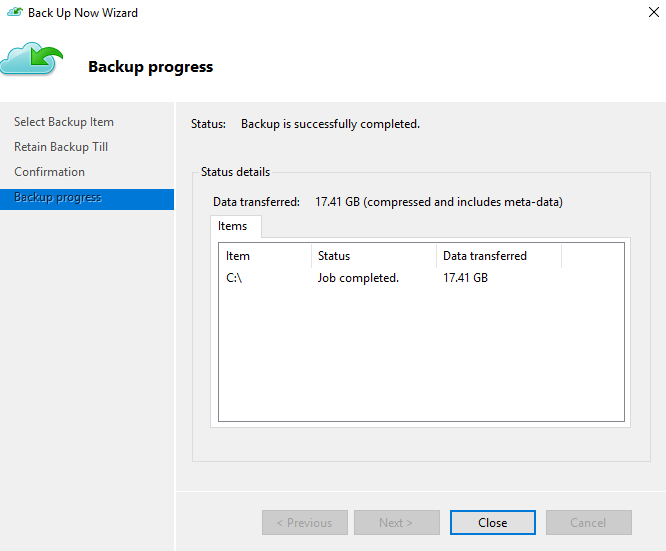
Click the Close button to complete the backup.
Recover Data
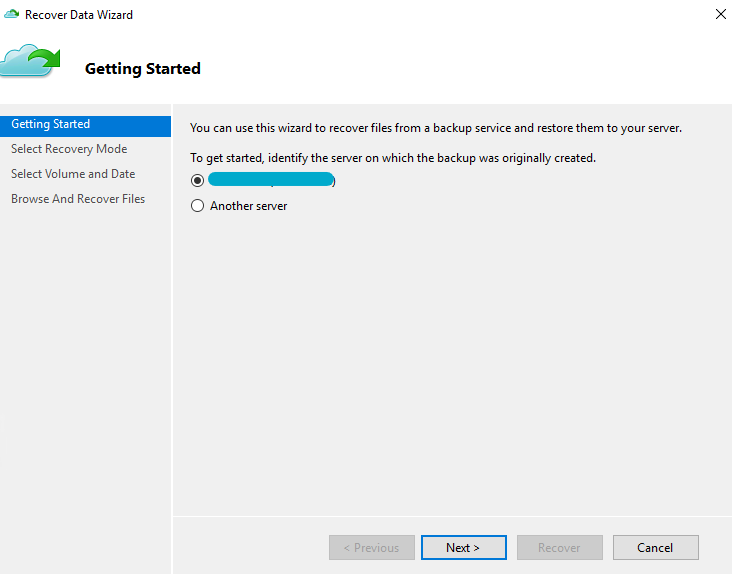
Click the Recover Data (Under Actions), to start the recovery wizard.
When you click Recover data a wizard will guide you through the process to recover the data.
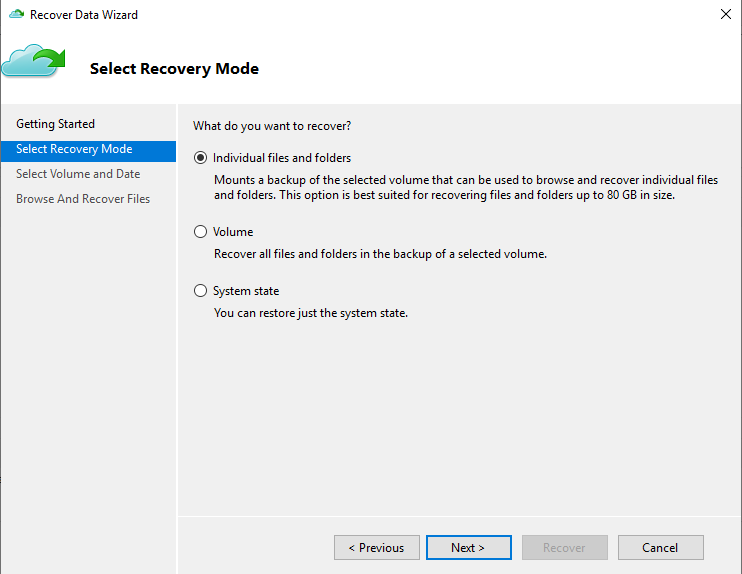
Select the Recovery Mode. In the below example selecting Individual files and folders will be used.
Select the Volume from the drop down and then the date to recover the files from the calendar view.
There is also a time drop down if you selected to have backups done up to the 3 times a day.
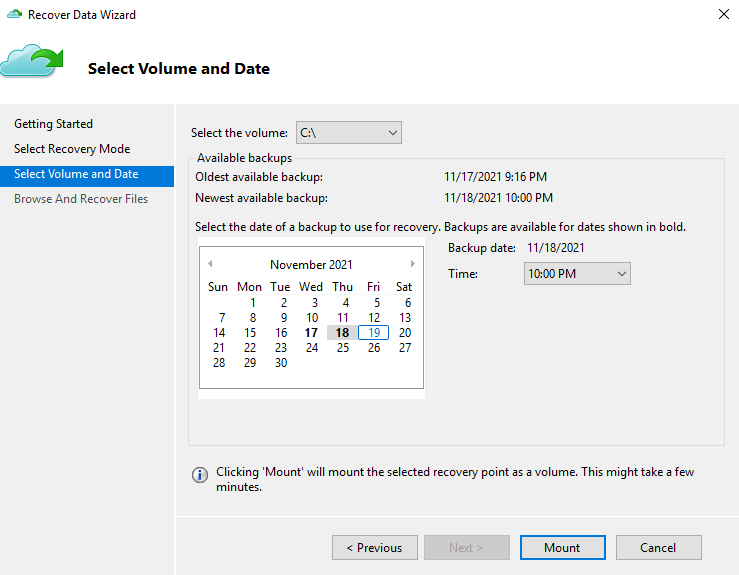
Click the Mount button to mount the volume. It may take some time to mount the drive. In this demo it mounted in under a minute.

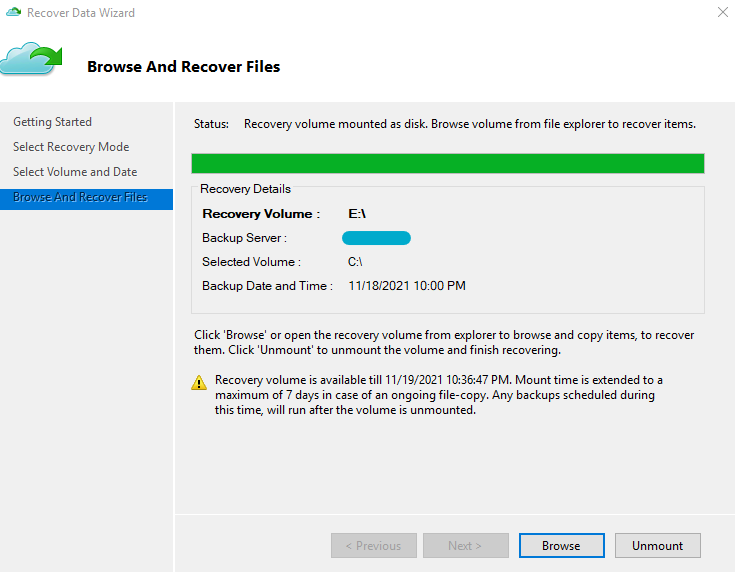
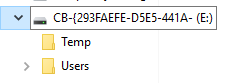
A New E: drive was created on my machine to browse to the files to be restored.
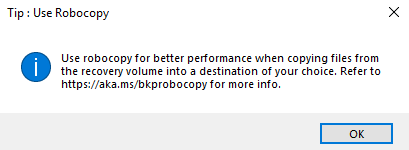
When you click browse a messages will appear to suggest to use robocopy tool for better performance when copying files to the destination.
When you are finished restoring the files press the unmount button.
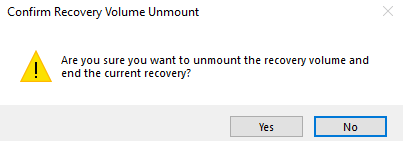
Click yes to remove the attached drive volume.
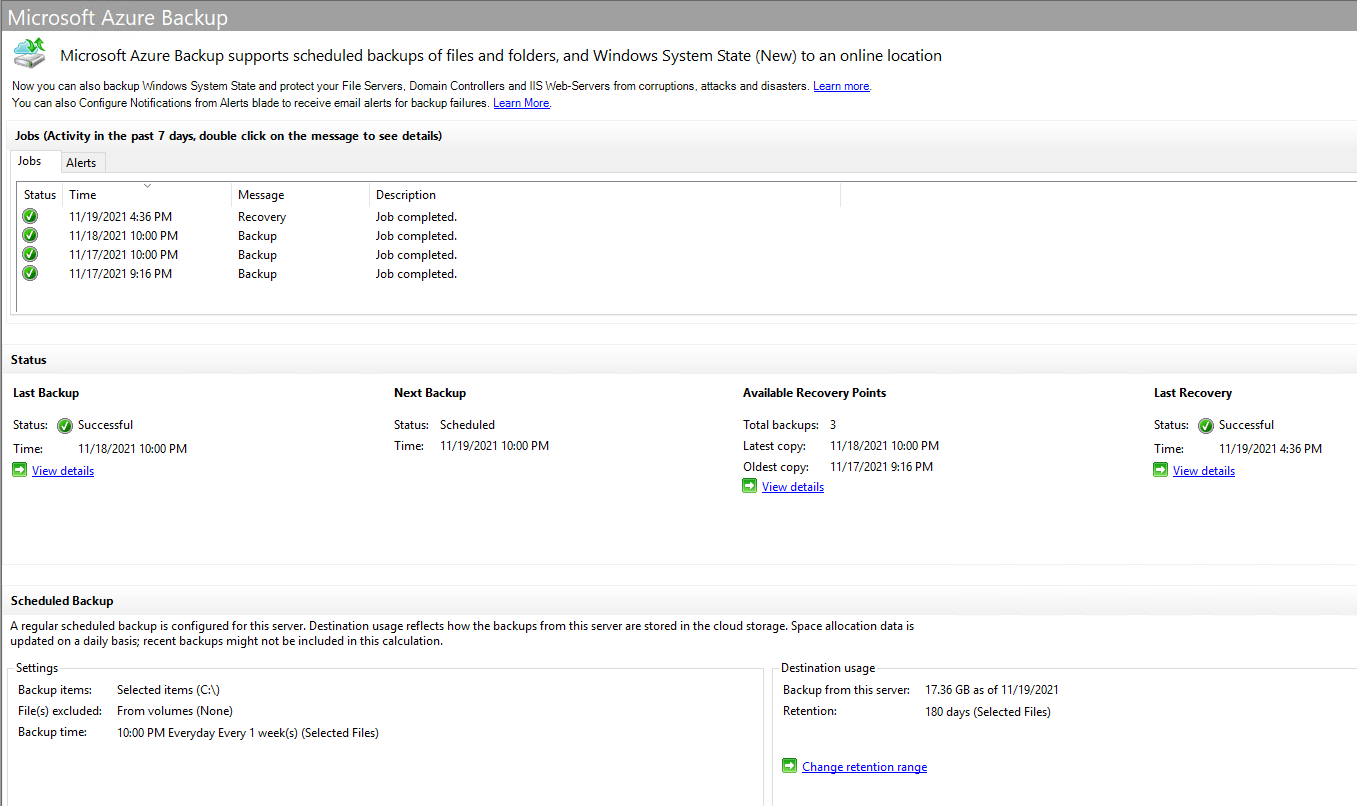
Status of backups
After several days of backups the application will show the jobs that have been completed and the statuses of the last backups, next backup times, available recovery points, and last attempted recovery.
Alerts can be setup in the recovery services vault to send an email when backups fail. Review this link for more information on setting up backup alerts.
Manage Azure Recovery Services vaults and servers – Azure Backup | Microsoft Docs
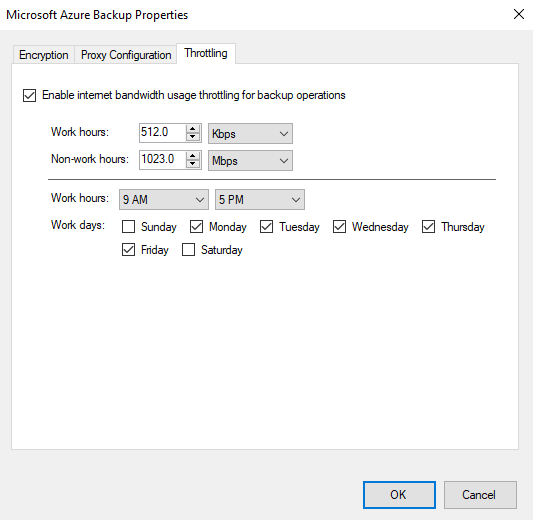
Throttle bandwidth
Azure backup allows the data transfer speeds to be throttled to not overwhelm your outbound network.
Click “Change Properties” under the actions group.
Click the “Throttling” tab and click the check box to enable internet bandwidth usage throttling.
Change the working hours and non-working hours data limits as well as the working hours times and days.