
Note: The content below is created during preview of this feature screens may change in the future. Azure Customer Support is supporting this preview today which is not common in other Azure previews. If a user is new to Azure Site Recovery it was recommended to implement the preview vs. what is in general release. The SLA for Azure Site Recovery is also supported during this preview.
Overview: Azure Site Recovery is service that is used to help organizations prepare for a disaster by replicating virtual machines to Azure from on-premises VMware or Hyper-V servers. Azure Site Recovery syncs the virtual machine to an Azure Recovery Services Vault which it can then spin up and failover to. After the on-premises host is available after the disaster, a failback of the virtual machine running Azure may be performed.
Below are the steps to implement Azure Site Recovery for an on-premise VMware implementation.
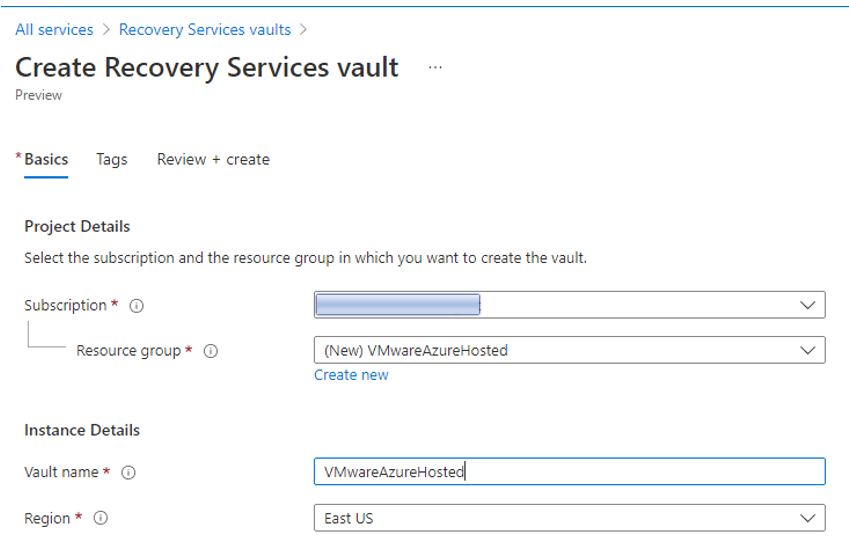
Create a NEW Recovery Services Vault if one does not exist in region that you will restore VM’s to.
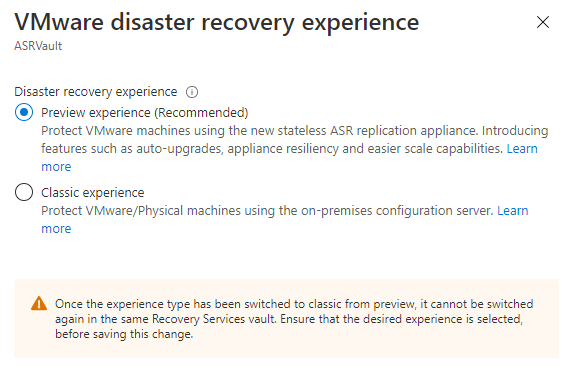
Make sure that you are using the preview option for VMware as this shortens the install greatly and removes the need for process server’s in Azure for failback to on-premises. This new process does not require a VPN/Express Route to fail back to on-premises.

Click the + sign on Recovery Services Vault.

Hit next Tags and create a tag pair.
Click Review and Create

Click the Create button.

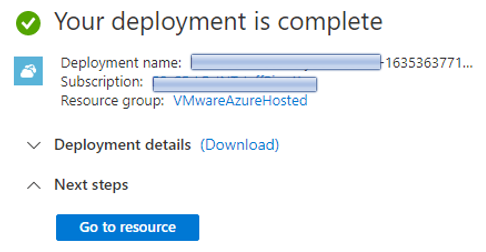
Go to the resource or go back to Recovery Services Vault to find the new vault that was created.
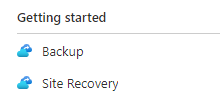
Under getting started click on Site Recovery.
Create Site Recovery Virtual Machine
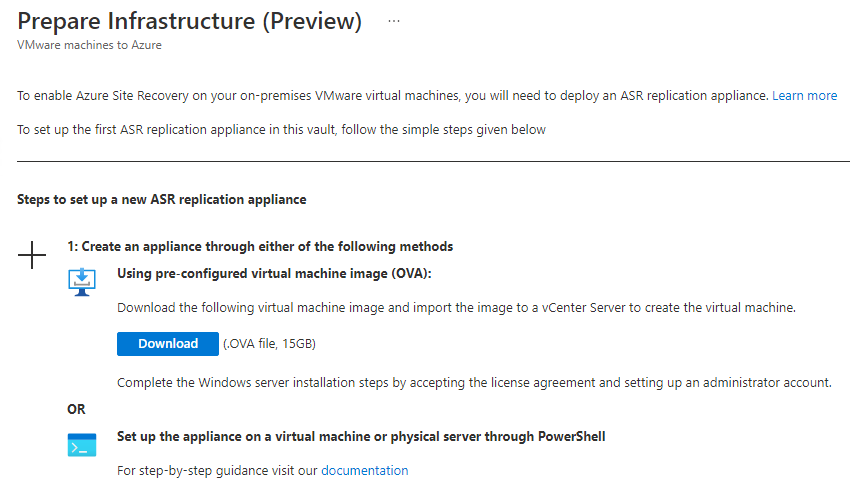
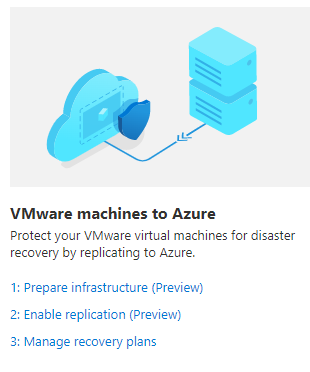
Click on Prepare Infrastructure (Preview)

Make sure the (Preview) options are selected.

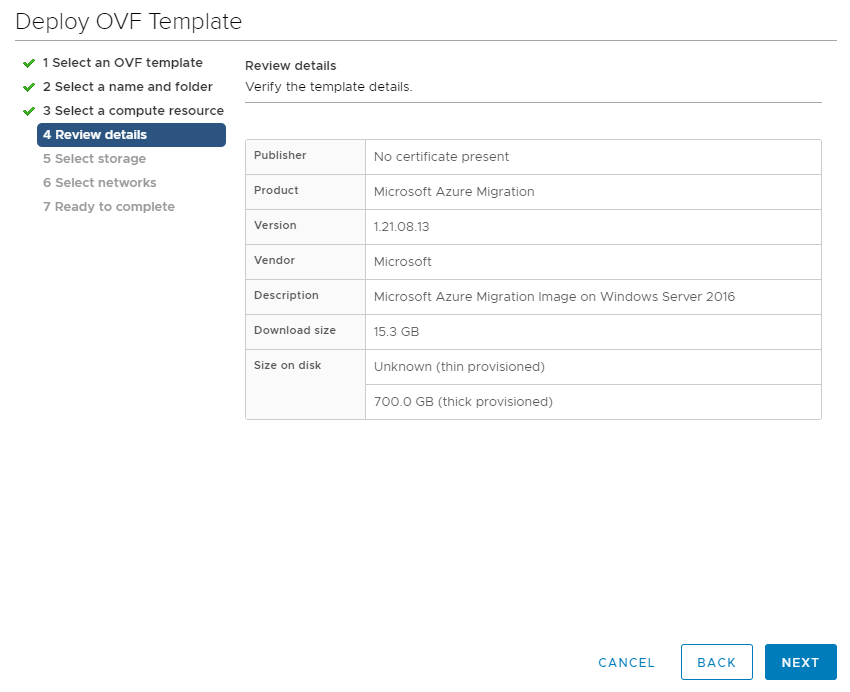
Prepare the on-premises infrastructure by downloading the .OVA file. It is 15GB so it may take a small bit of time depending on your bandwidth. (MicrosoftDRAppliance.ova)
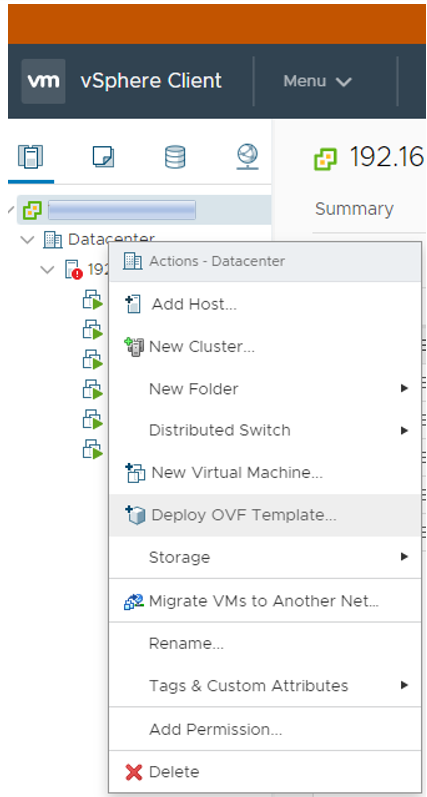
Browse to the MicrosoftDRAppliance.ova file that was downloaded.

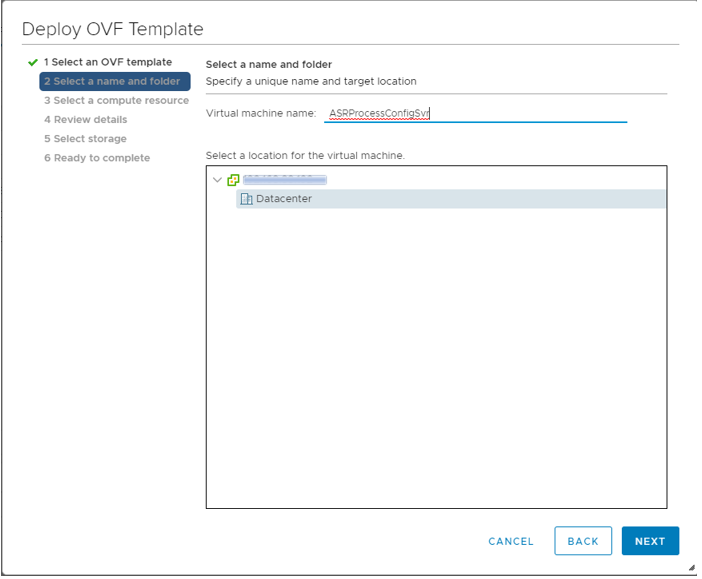
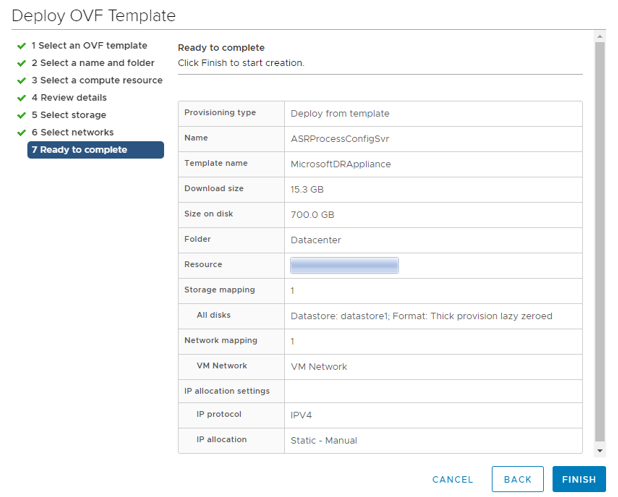
Name the Virtual Machine
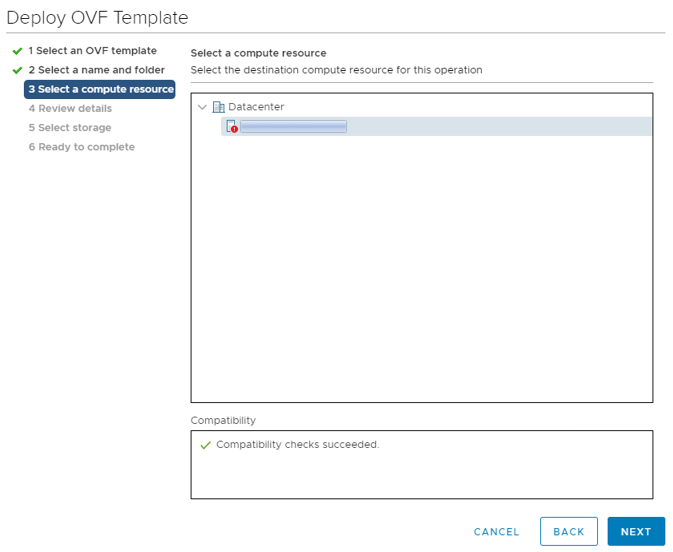

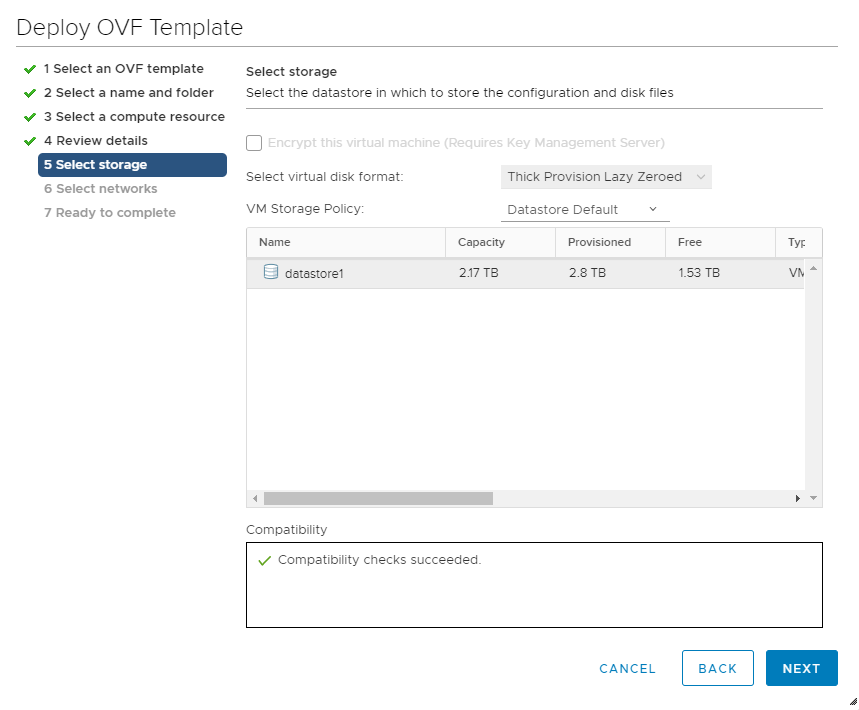
Determine if you should use Thick or Thin Provision depending on your disk space available.

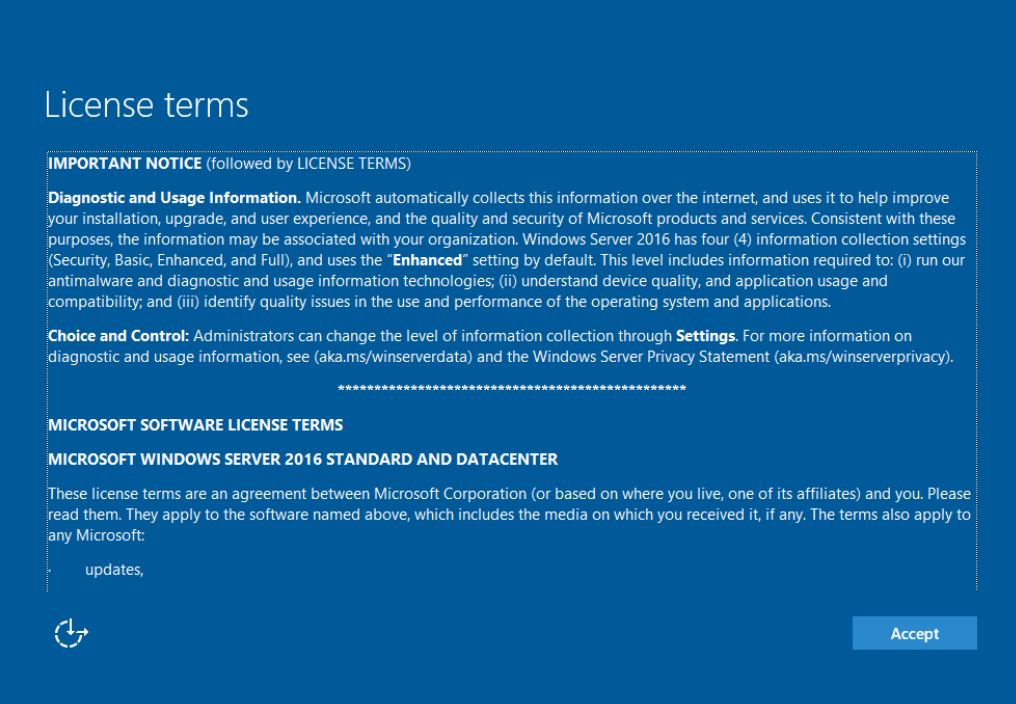
After the OVF is deployed click on the new VM. It will bring you to a licensing screen.
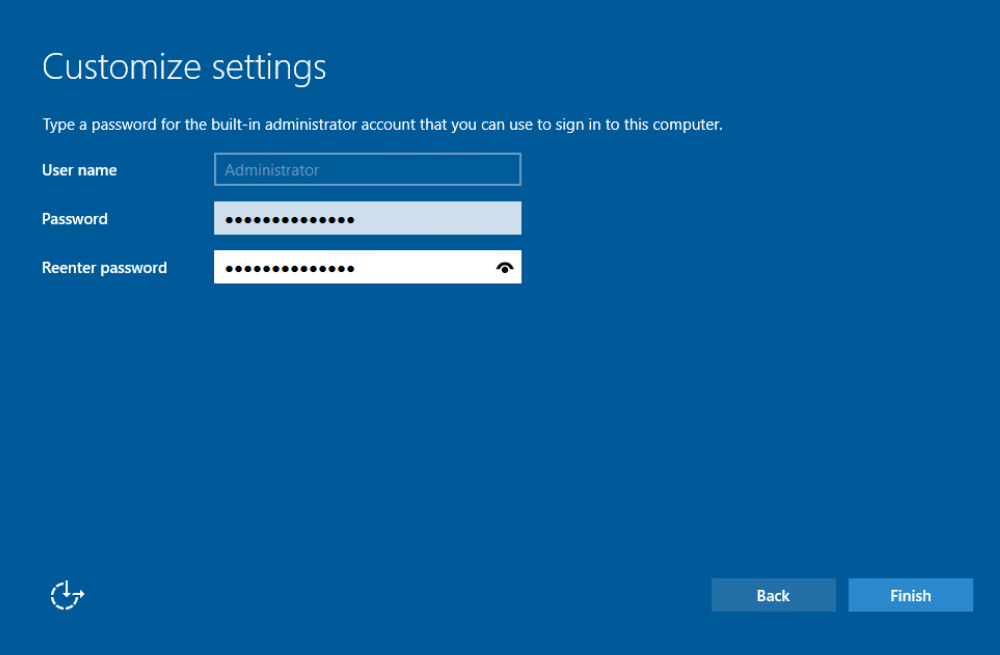
Enter the password for the Administrator account.

Log in and wait for the applications to load. Make sure you wait for the icon to appear “Microsoft Azure Appliance Configuration Manager”. If a web page opens up, go ahead and close it and more to the next step.
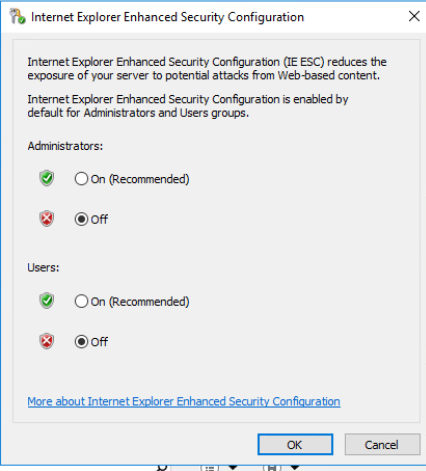
Open Server Manager and turn off Internet Explorer Enhanced Security
Open the icon “Microsoft Azure Appliance Configuration Manager” 
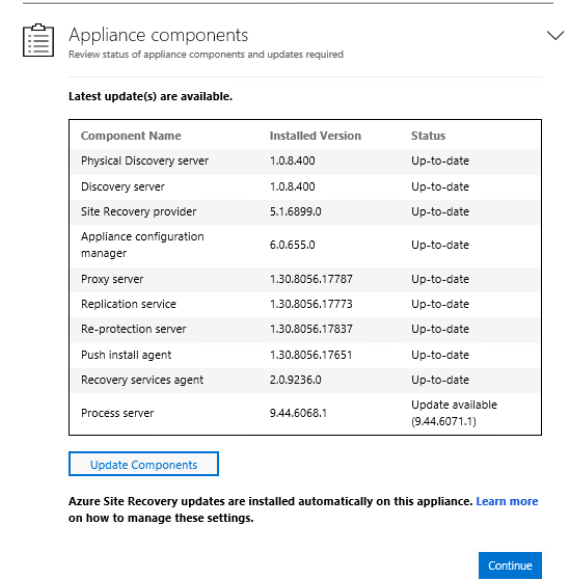
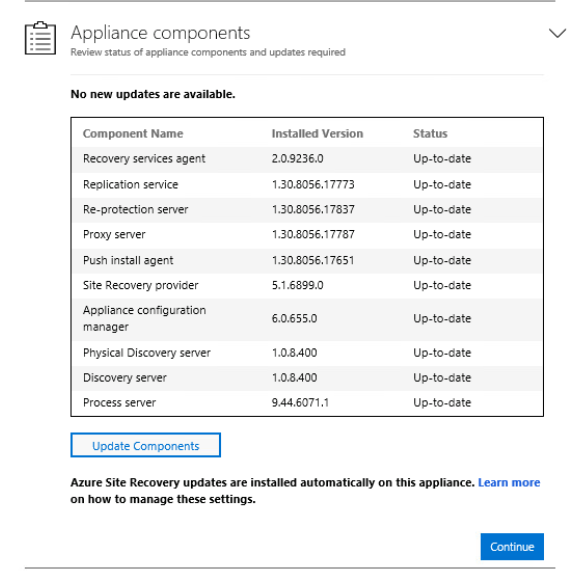
Click update components to upgrade Process server if desired.
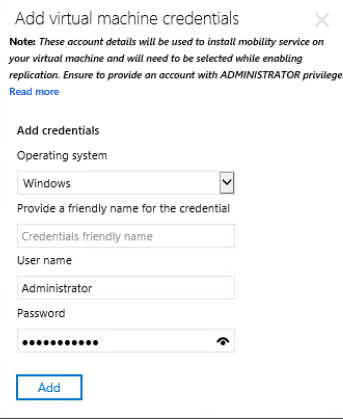
**** ADD Machine to Domain if Available ****
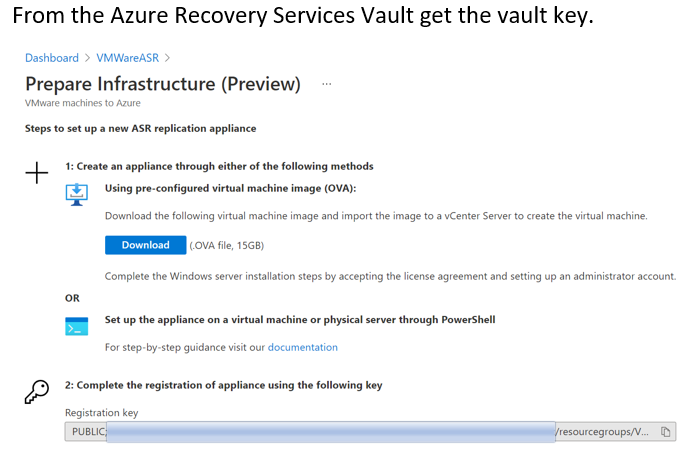
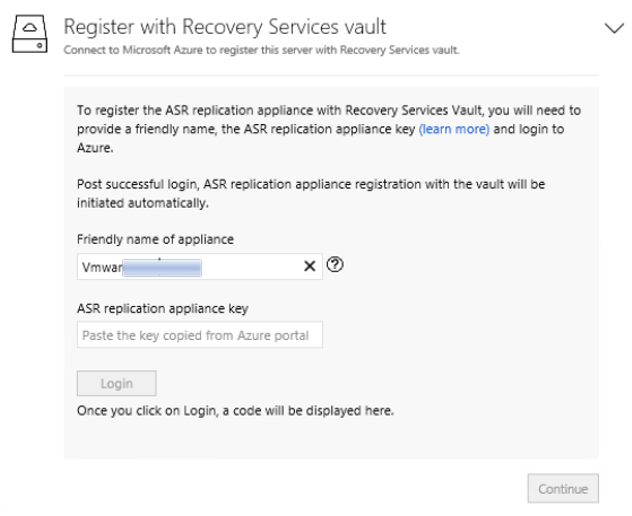
Enter the ASR Replication Key from above and click login. This will verify your identity by using a keycode and then logging in to your Azure Subscription.
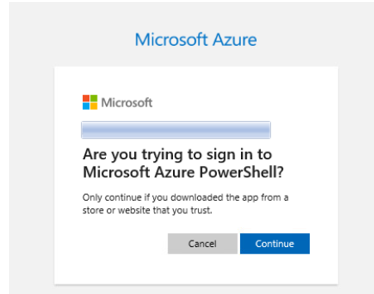
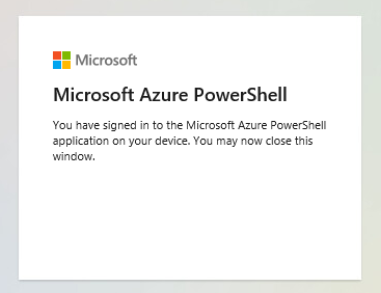
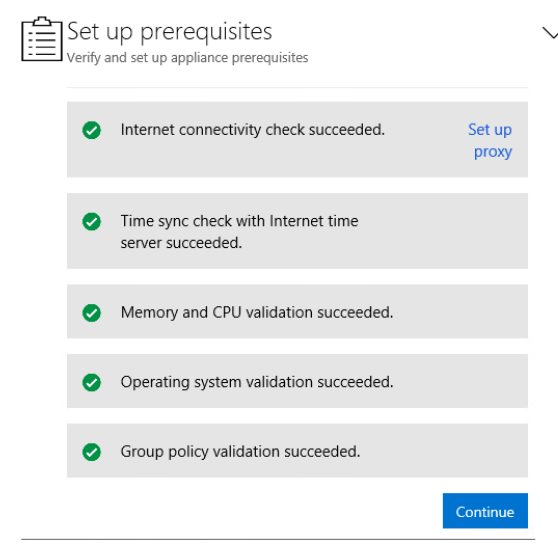
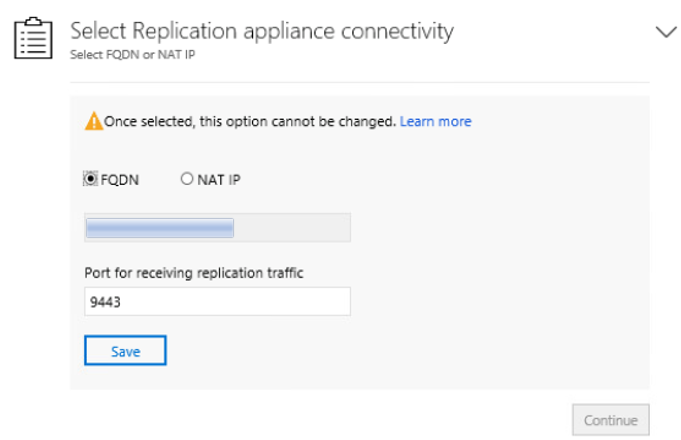
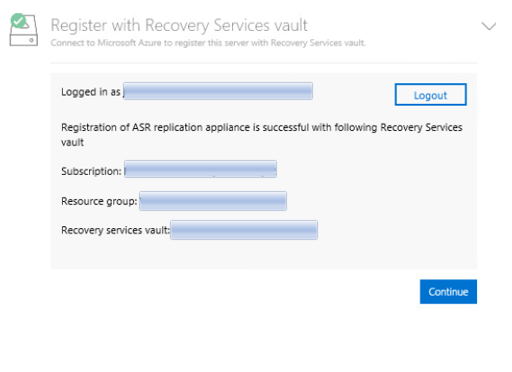
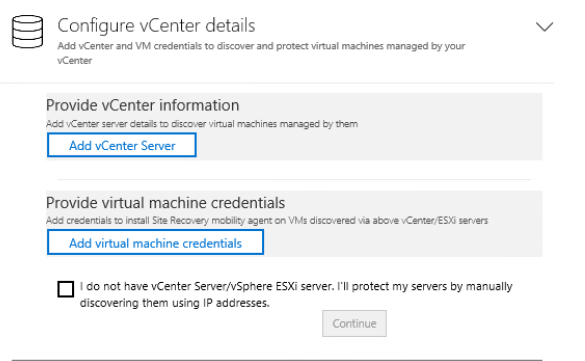
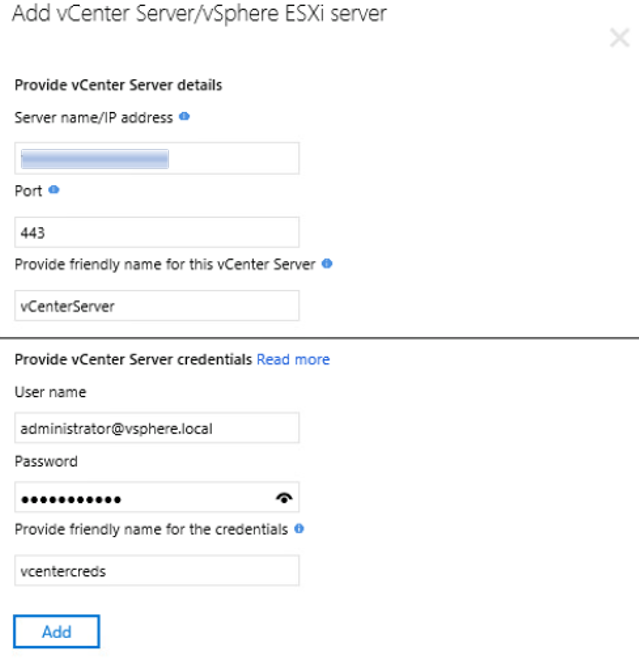
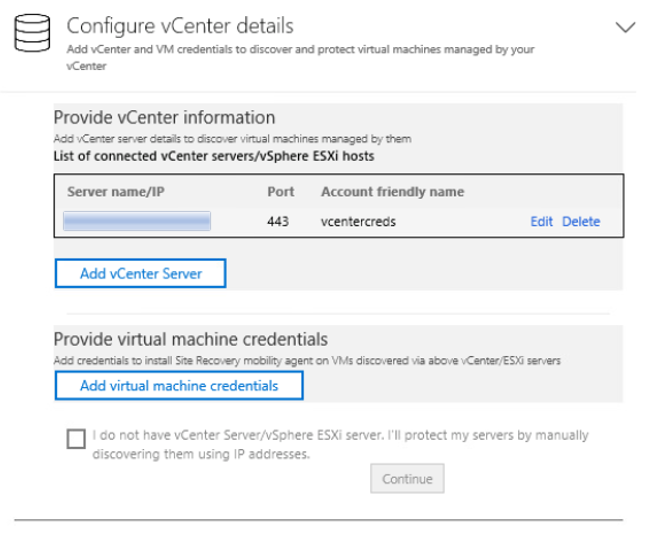
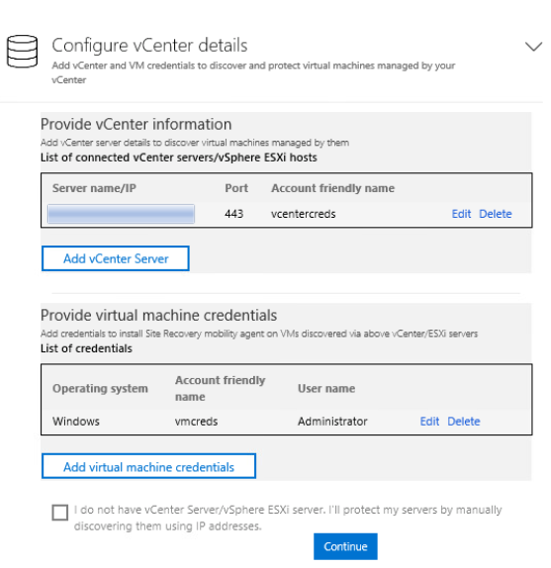
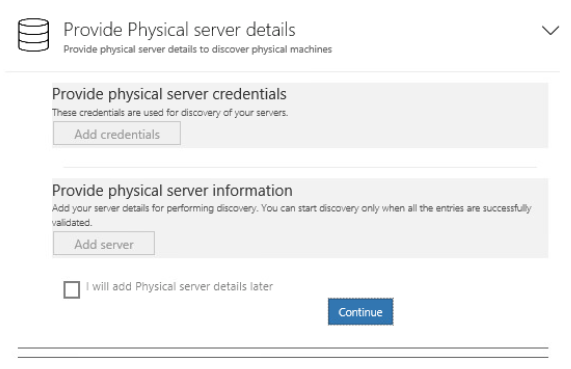
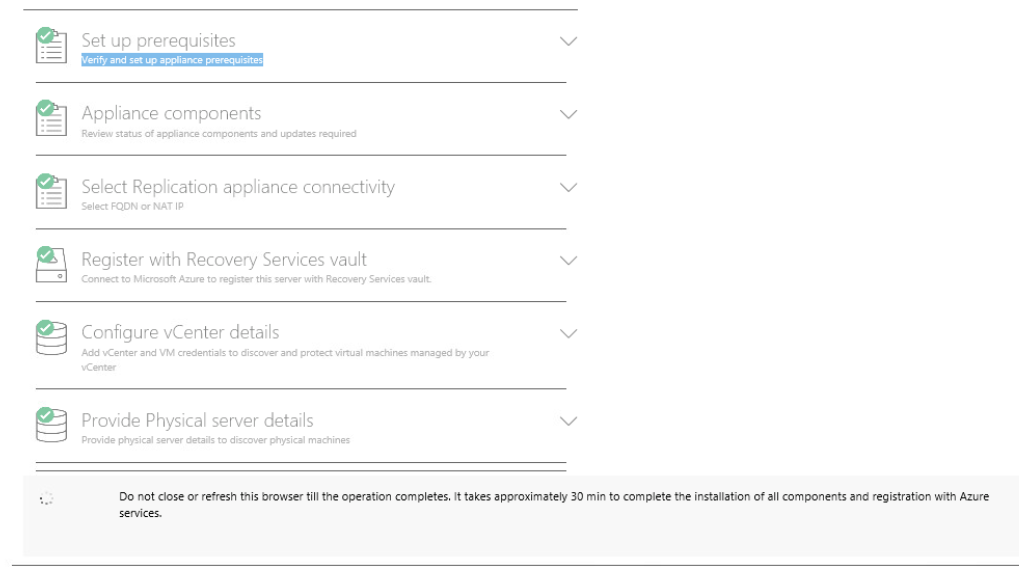
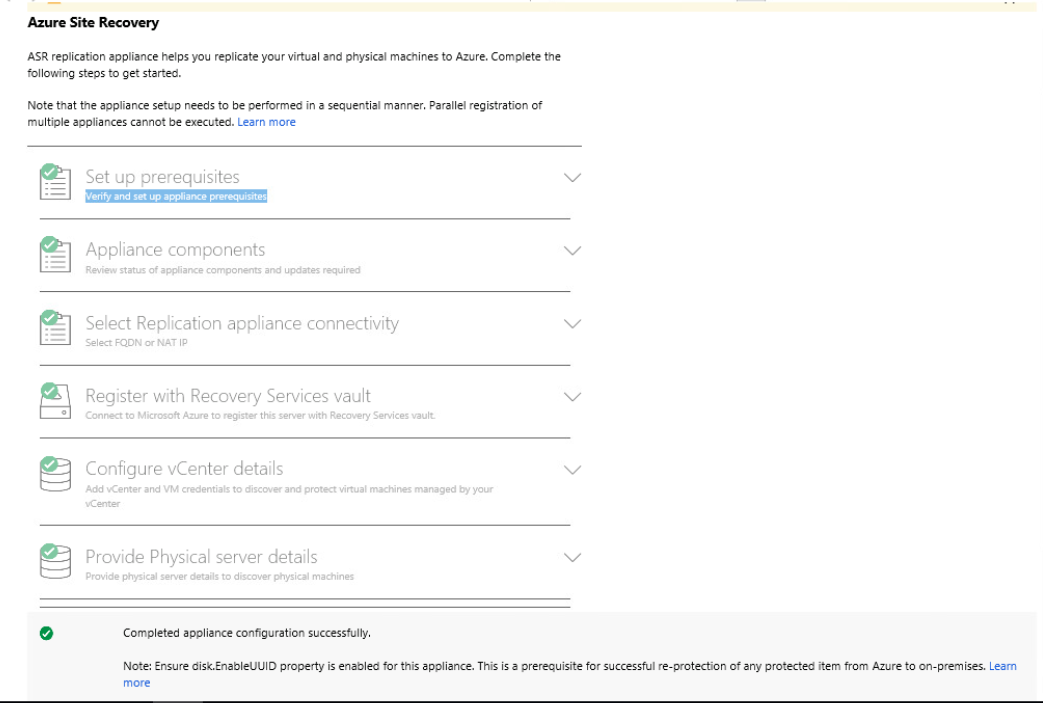
Go through the steps below of the wizard to register the server in Azure.
Go back to the Azure Portal and the Recovery Services Vault used before.
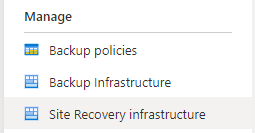
Under the Manage section, Click on Site Recovery infrastructure. Click Prepare Infrastructure.
If you click Prepare Infrastructure, it now shows that 1 appliance is setup.
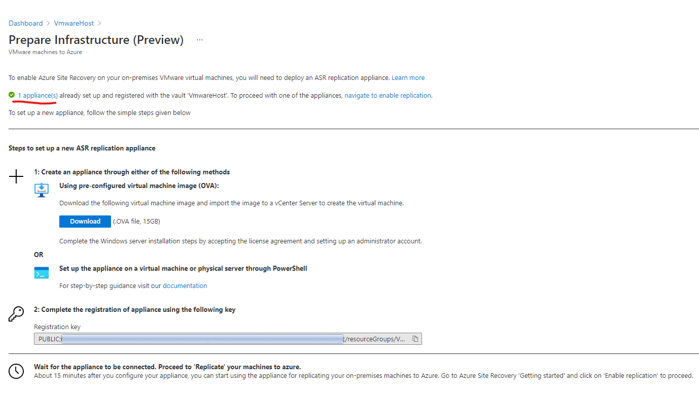
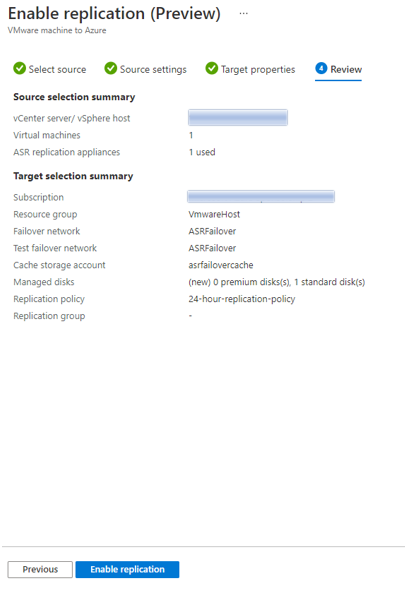
Click on Enable Replication
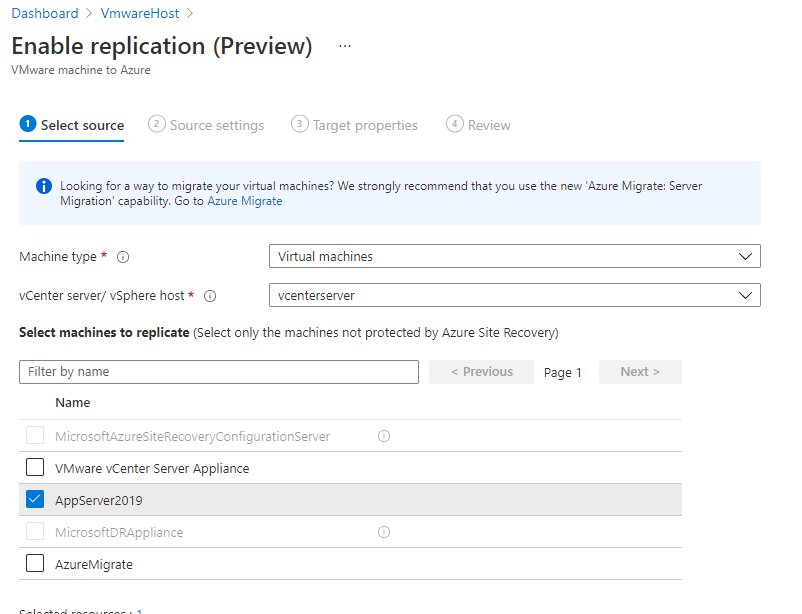
Click Next
** Open a new browser session and create an Azure Storage account for the Azure Site Recovery storage cache. This will be used in the next section. **
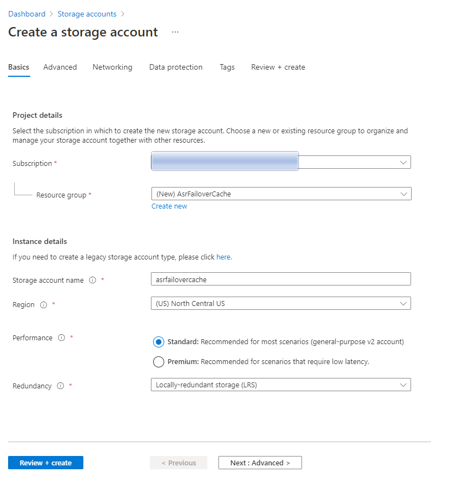
Use the new storage cache created below.
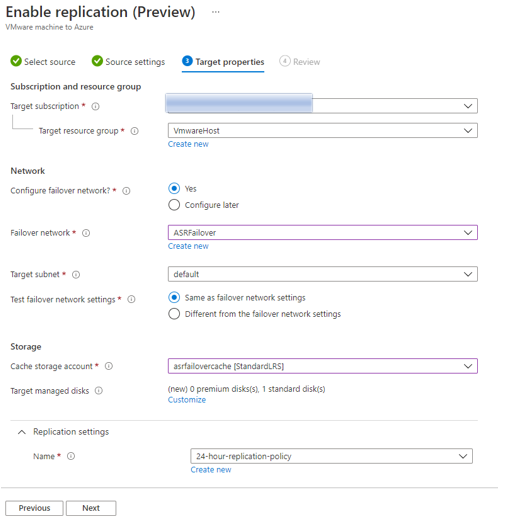
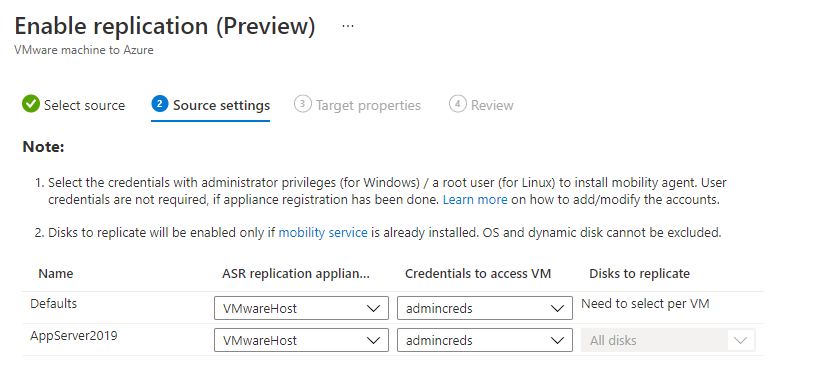
Click Next
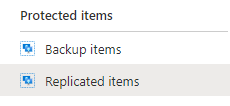
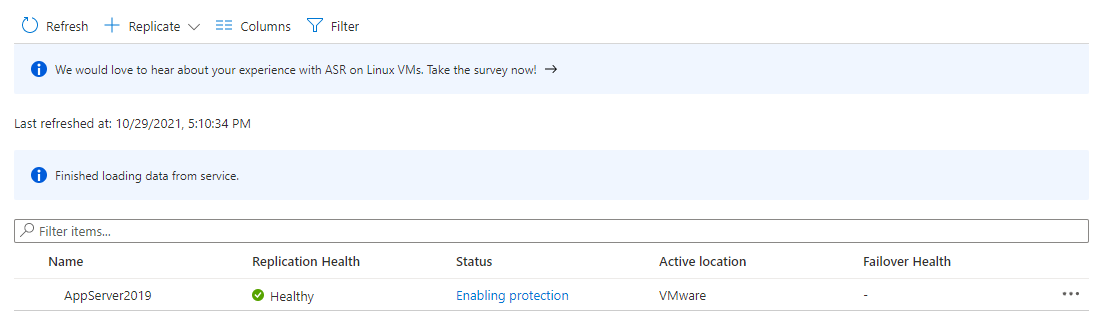
Check back to Azure Portal to look at Replicated items.
View the server here by clicking on Site Recovery infrastructure:
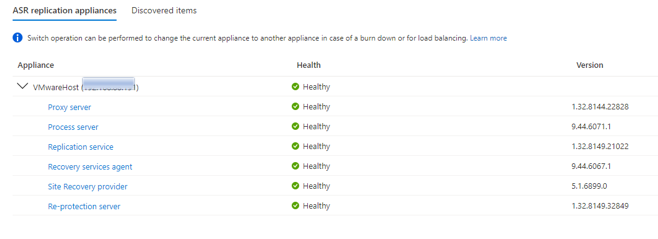
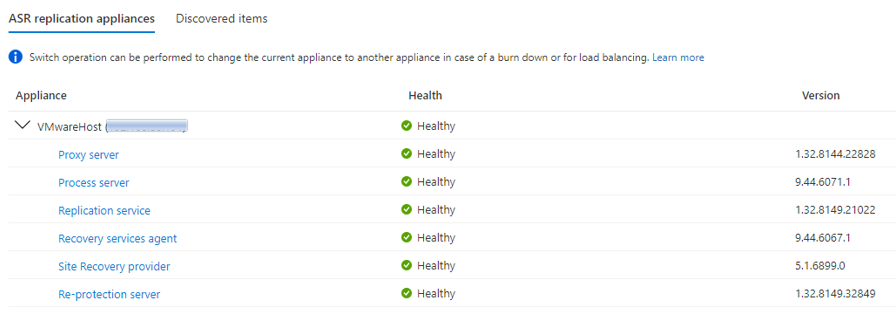
Click on the ASR replication appliances
This shows the status of the services running on the appliance
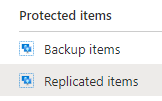
To check the status of the protection of the VM go to Protected Items.
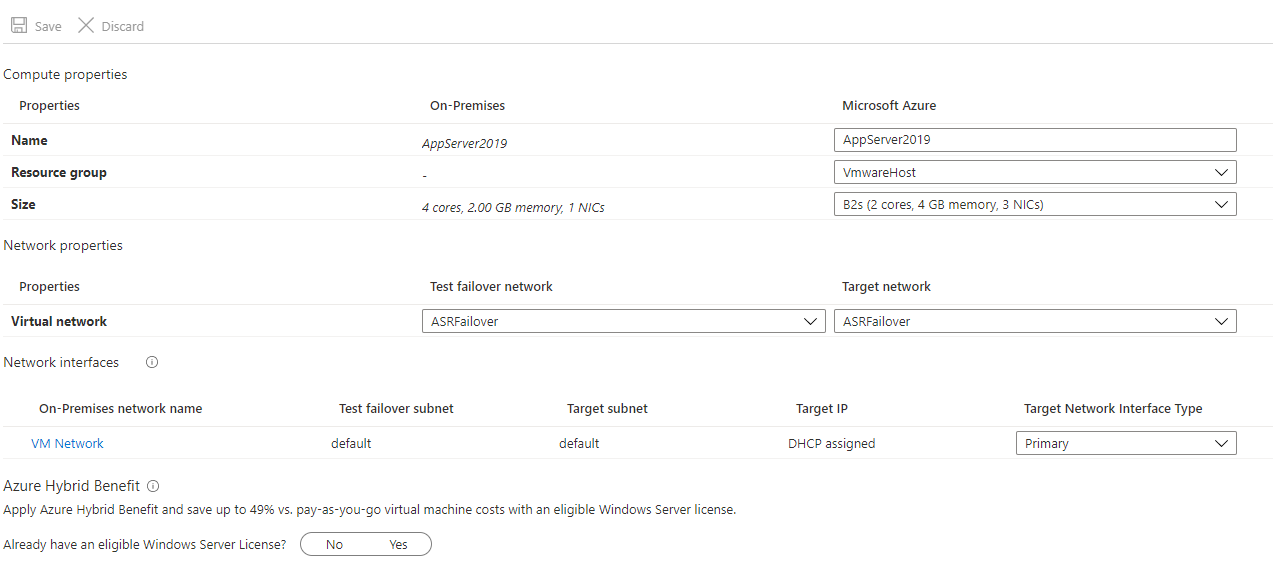
Check / Edit the configuration for the size of the VM when it is failed over to the secondary location.
Click Compute and Network.
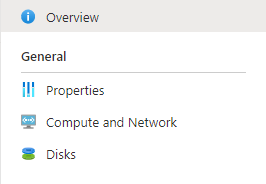
Review the Resource Group, VM Size, and Test/Target failover networks
*** Note ***
The below section reviews the process of failing over a single virtual machine to Azure, and then back to on-premises.
If you will have more than one virtual machine. Please see the Recovery Plan section below. The Recovery Plan groups allows sets of Virtual Machines to failover in a preset order. For example AD, SQL Server, Application Tier, and then Web Servers.
Test Failover
Use Test Failover to ensure that you are able to access the VM before a real failover is required.


Failover stages
Recovery stages
About failover and failback in Azure Site Recovery – Preview – Azure Site Recovery | Microsoft Docs
Failover and failback in Site Recovery has four stages:
Failover ? Commit ? Re-protect ?Failback ? Re-Protect
- Stage 1: Fail over from on-premises: After setting up replication to Azure for on-premises machines, when your on-premises site goes down, you fail those machines over to Azure. After failover, Azure VMs are created from replicated data.
- Stage 2: Re-protect Azure VMs: In Azure, you reprotect the Azure VMs so that they start replicating back to the on-premises site. The on-premises VM (if available) is turned off during reprotection, to help ensure data consistency.
- Stage 3: Fail over from Azure: When your on-premises site is running as normal again, you run another failover, this time to fail back Azure VMs to your on-premises site. You can fail back to the original location from which you failed over, or to an alternate location. This activity is referred as planned failover.
- Stage 4: Reprotect on-premises machines: After failing back, again enable replication of the on-premises machines to Azure.
Failover
When a failover needs to happen to the designated region, press the Failover button.

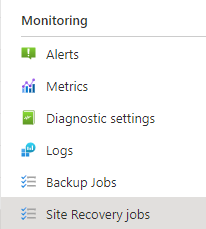
Check the status of the failover using the Site Recovery Jobs blade

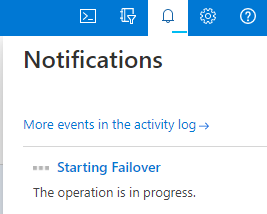
Clicking into this process shows the detail. This same process may be accessed from the running job under the notification’s icon.
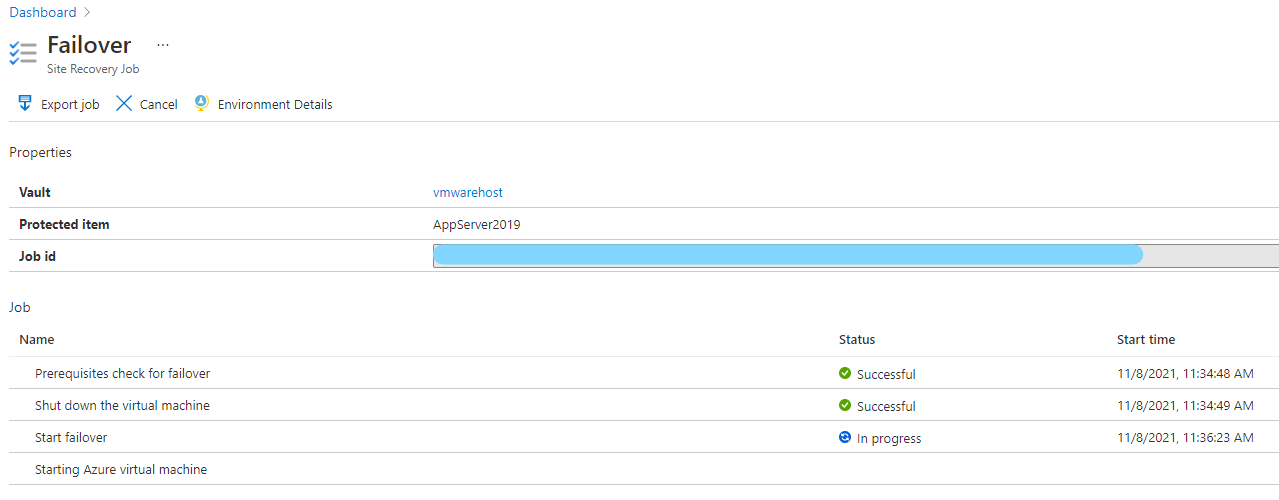
When the job completes, the details are displayed for how long it took to failover the VM. This failover took 11 minutes and 19 seconds

The VM is now showing in the list of virtual machines running.

Commit
Commit the changes in the new region for the VM.

Ensure that the VM data from the recovery point is correct from the failover, and then press the Commit button.


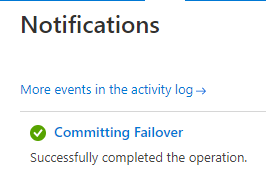
Notifications will show the process is kicked off.
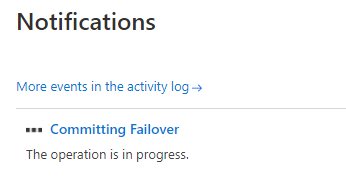
The process should not take too long to complete.
Re-Protect
Re-Protect the virtual machine to start to synchronize the data back to the On-Premises VMware system.

Click Re-protect
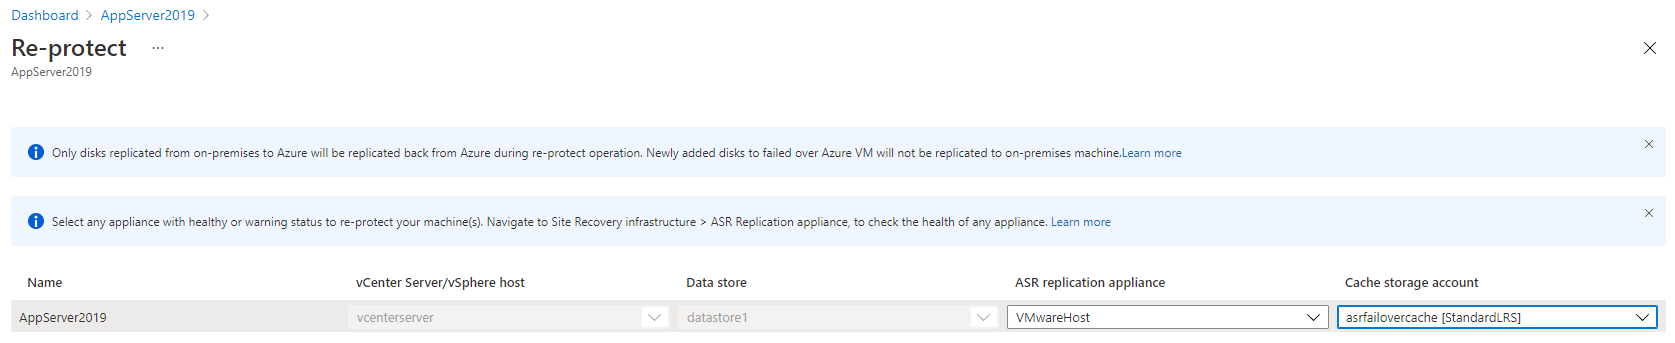
Choose the storage cached used previously.
Click Re-protect

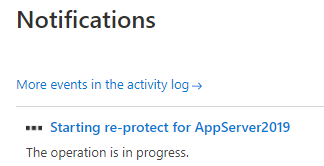
The re-protect job from the notifications shows that the process has started.
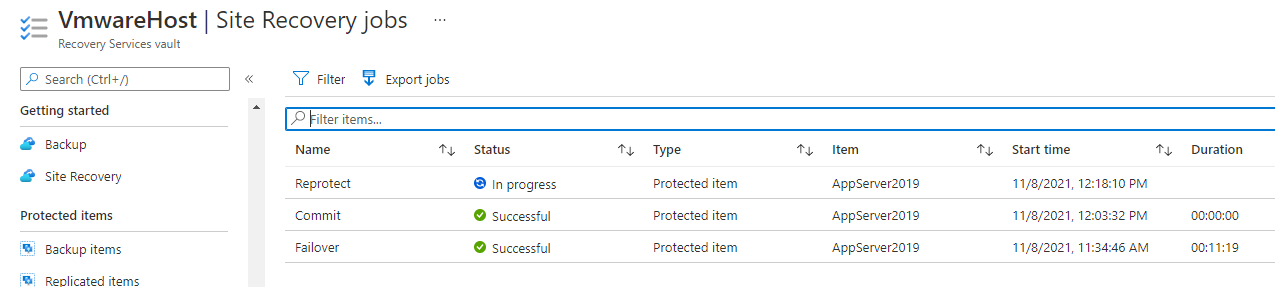
The Site Recovery Jobs shows the Reprotect Process running.
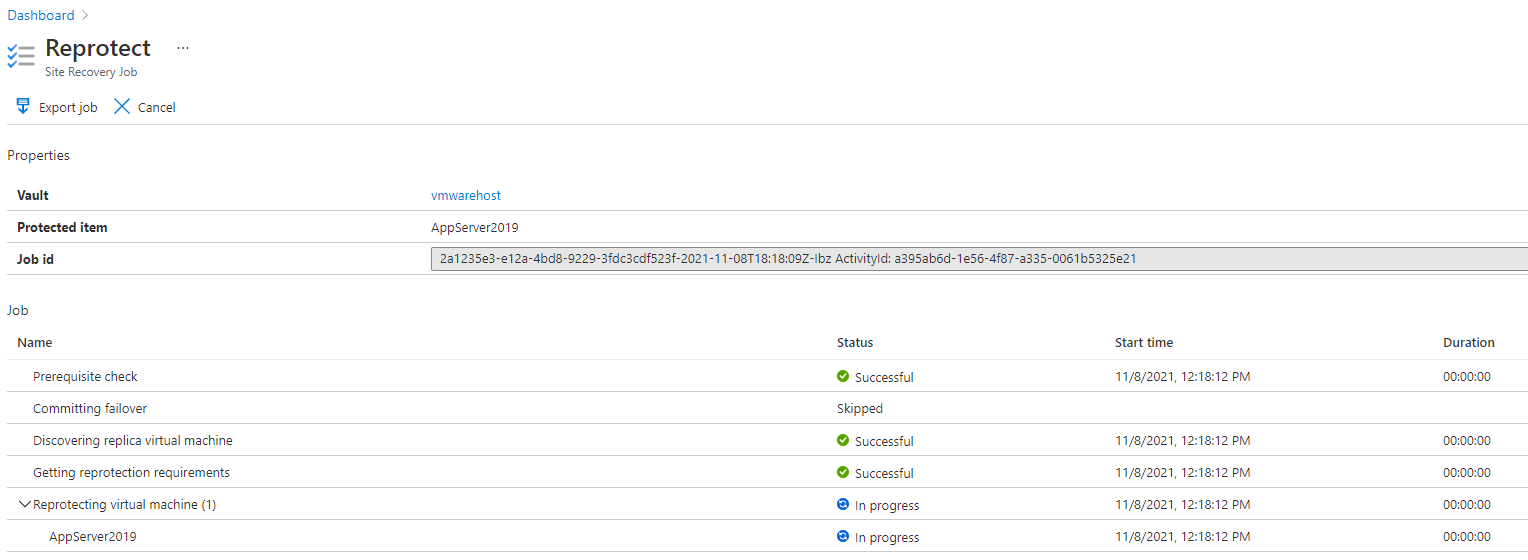
Clicking into the Reprotect job shows the details.
Check Replicated Items blade to see the progress of the re-synchronization.

Planned Failover
Planned Failover
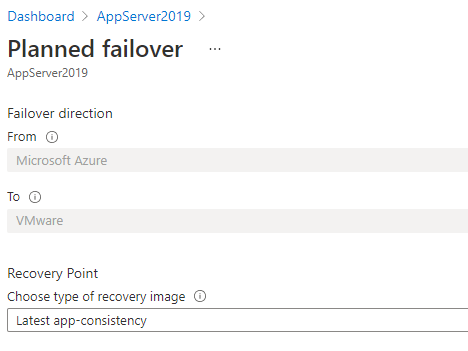
Use the Planned Failover option to failback to on-premises.

Click Planned Failover
Choose from application consistent or a crash consistent recovery point.
Press Ok and then see the notifications for the process.
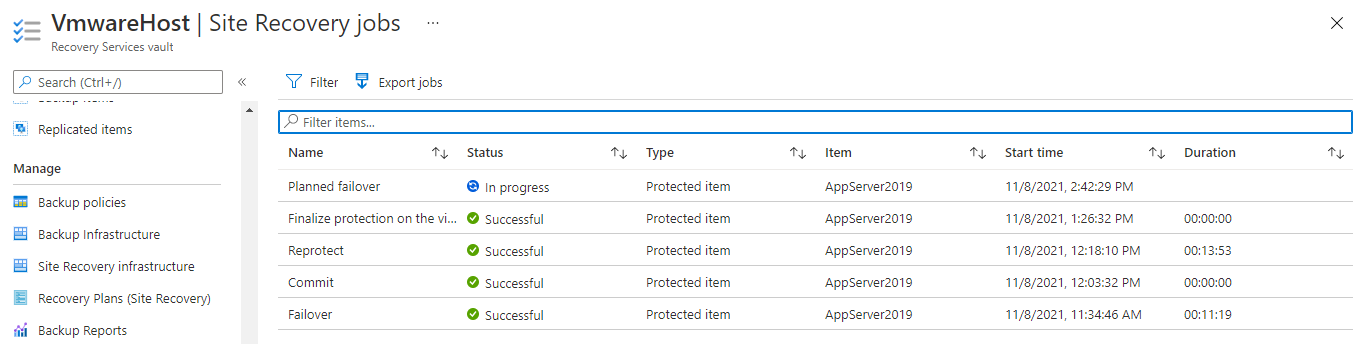
Site Recovery Jobs shows the status of the Planned failover.
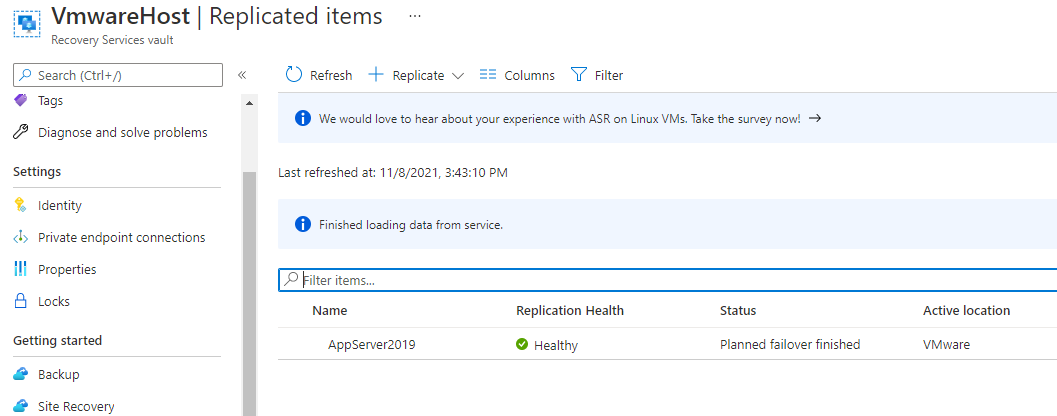
Once this is finished check the on-premises VM to ensure all the expected data is there from the restore point.
Continue to the Commit and Re-protect steps similar to what was completed when failing over to Azure from the on-premise VM.
1. Commit ![]()
2 Re-protect ![]()
After the VM is synchronized you will have completed the failback to on-premise.
Recovery Plans
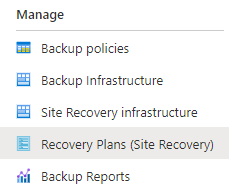
Click the + Recovery Plan to create a new plan.

Name the plan and choose the source and target
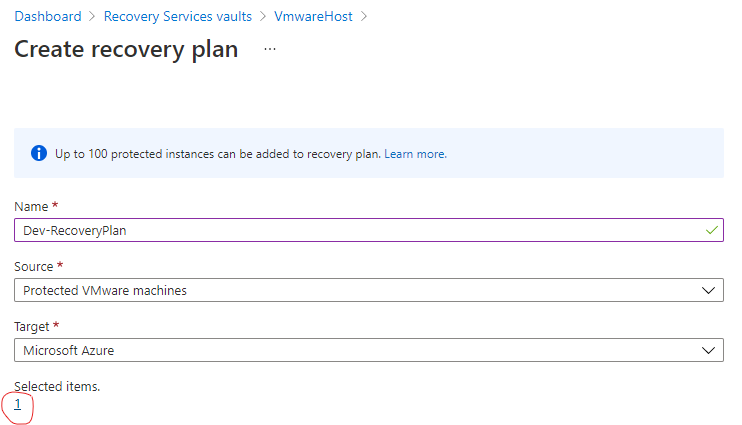
Click the selected items hyperlink to select a virtual machine to add to the plan.
Click Create to create the recovery plan.
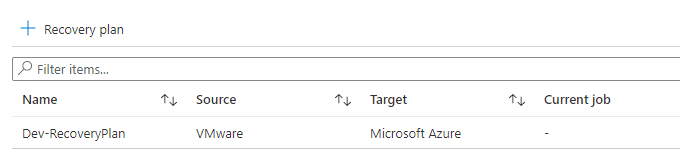
Click into the recovery plan to customize the plan.
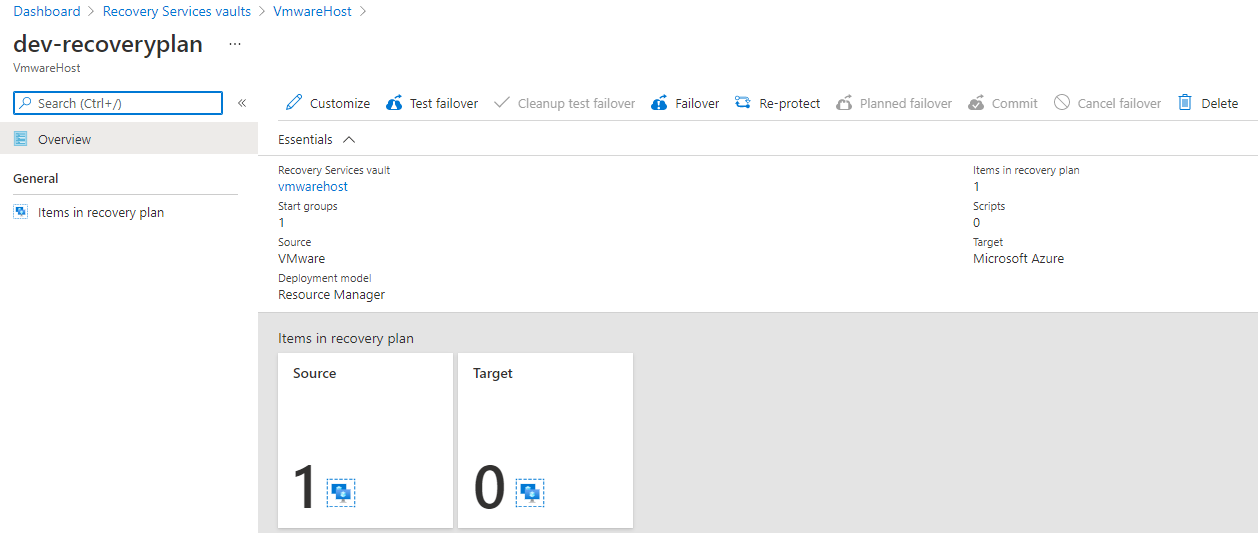
Click the customize button to edit the plan.
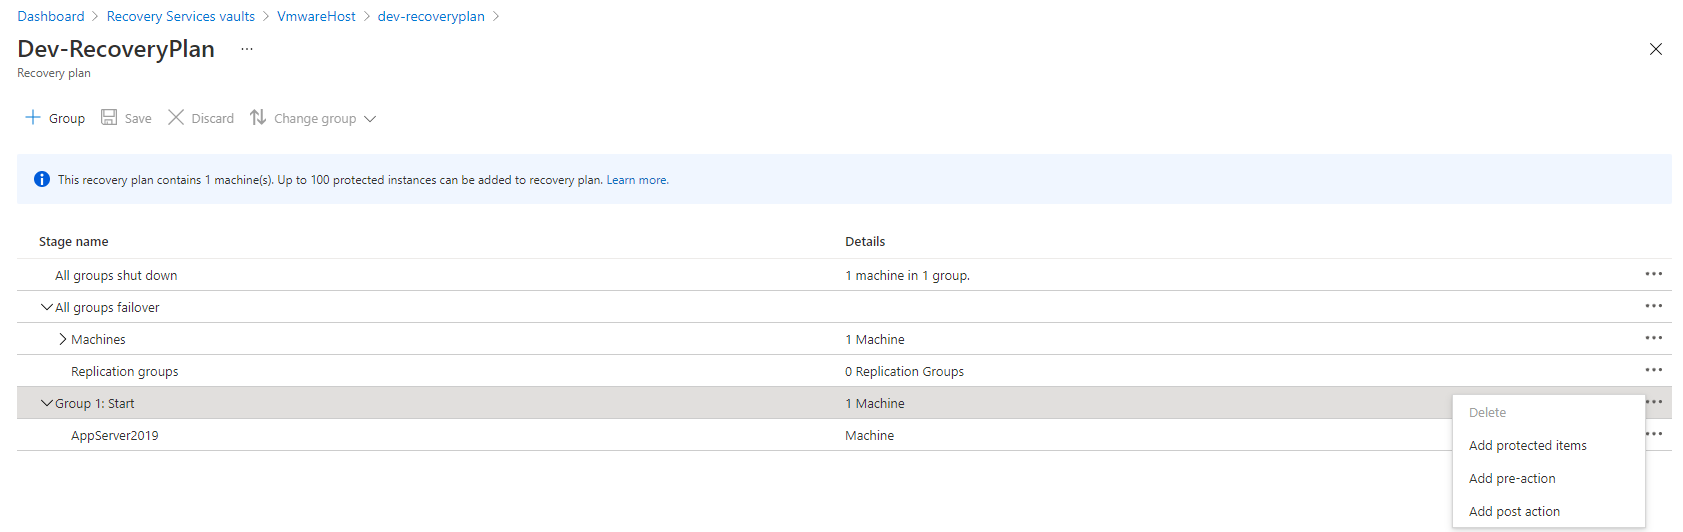
The + Group button allows adding up to seven groups. These groups are executed in order. An example of using groups to virtual machines would be deploying machines in this order:
- Group 1 – DNS, Active Directory
- Group 2 – SQL Servers
- Group 3 – Application Servers
- Group 4 – Web Servers
Next to each group the … context menu shows options for pre-action and post action scripts that could be ran against the VM. Examples of this could be to add a public IP address to the VM before it starts up.
The recovery plans have the same failover steps as described above for the single VM failover. The VMs will fail over in parallel in the same group, and then subsequent groups will follow in sequential order after each previous group completes.

See the link below to learn more about recovery plans.
About recovery plans in Azure Site Recovery – Azure Site Recovery | Microsoft Docs
Other terms to note:
- Resynchronize – by default resynchronization is scheduled to run automatically outside office hours. If you don’t want to wait for default resynchronization outside hours, you can resynchronize a VM manually. To do this, go to Azure portal, select the VM > Resynchronize.
- Complete Migration means that you will not go back to the source location anymore. You migrated over to the target region and now you’re done. Clicking on Complete Migration triggers Commit and then Disable Replication, internally.
- Commit means that this is not the end of your replication process. The replication item along with all the configuration will remain, and you can hit Re-protect at a later point in time to enable the replication of your machines back to the source region.
- Disable Replication will disable the replication and remove all the related configuration. It won’t affect the already existing machine in the target region.
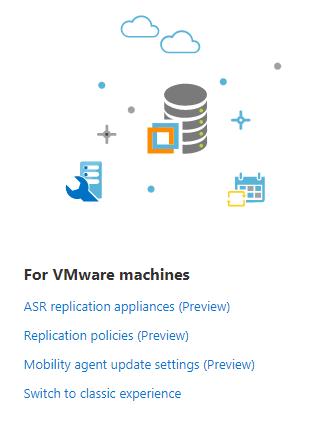
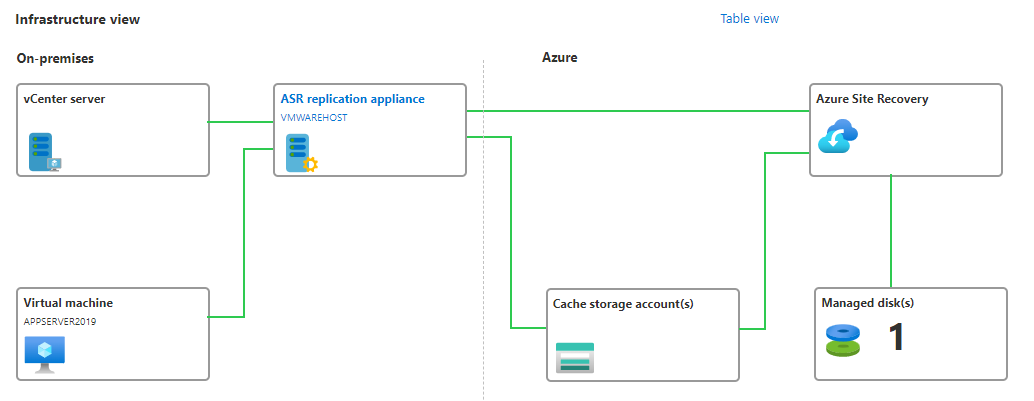
Infrastructure View
The diagram on the overview page shows the ASR appliance which if you click on the link will take you to the different processes/servers/services that make up the appliance. The Process Server is now part of this appliance.
Other Links
Verify the sizing requirements summarized in the table. In general, if you have to scale your deployment to more than 200 source machines, or you have a total daily churn rate of more than 2 TB, you need additional process servers to handle the traffic volume.